Showing posts with label heart. Show all posts

Monday, February 8, 2016

Wrapped Edges on Fiber Postcards

Sheree McKee
February 2016
sewfabsew.blogspot.com


The majority of fiber postcards I receive, are made with an overcast stitched-edge finish.  But there are other options that include wrapping.


Lace wrapped side edges with
scallop trimmed top and bottom

Valentine 2016

A wrapped edge is a pretty easy finish for your fabric postcards.  You can use most any fabric or trim that can be folded in-half lengthwise.

It won't take you long to master this technique. You can wrap only two sides, like I did on this Valentine postcard to the left, or wrap all four edges!

FOR LENGTH, cut approximately 6+6+4+4+3 = 23" long of desired fabric or trim.

A GOOD WIDTH, is 1 1/4" wide, which results in a finished 1/2" - 5/8" wrap on the front of postcard.


Valentines made in 2013


Options for Wrapping
  1. Double-Fold Bias Tape
  2. Flat lace 
  3. Fabric strips
  4. Fold-over braids
  5. Duct Tape (yes!)


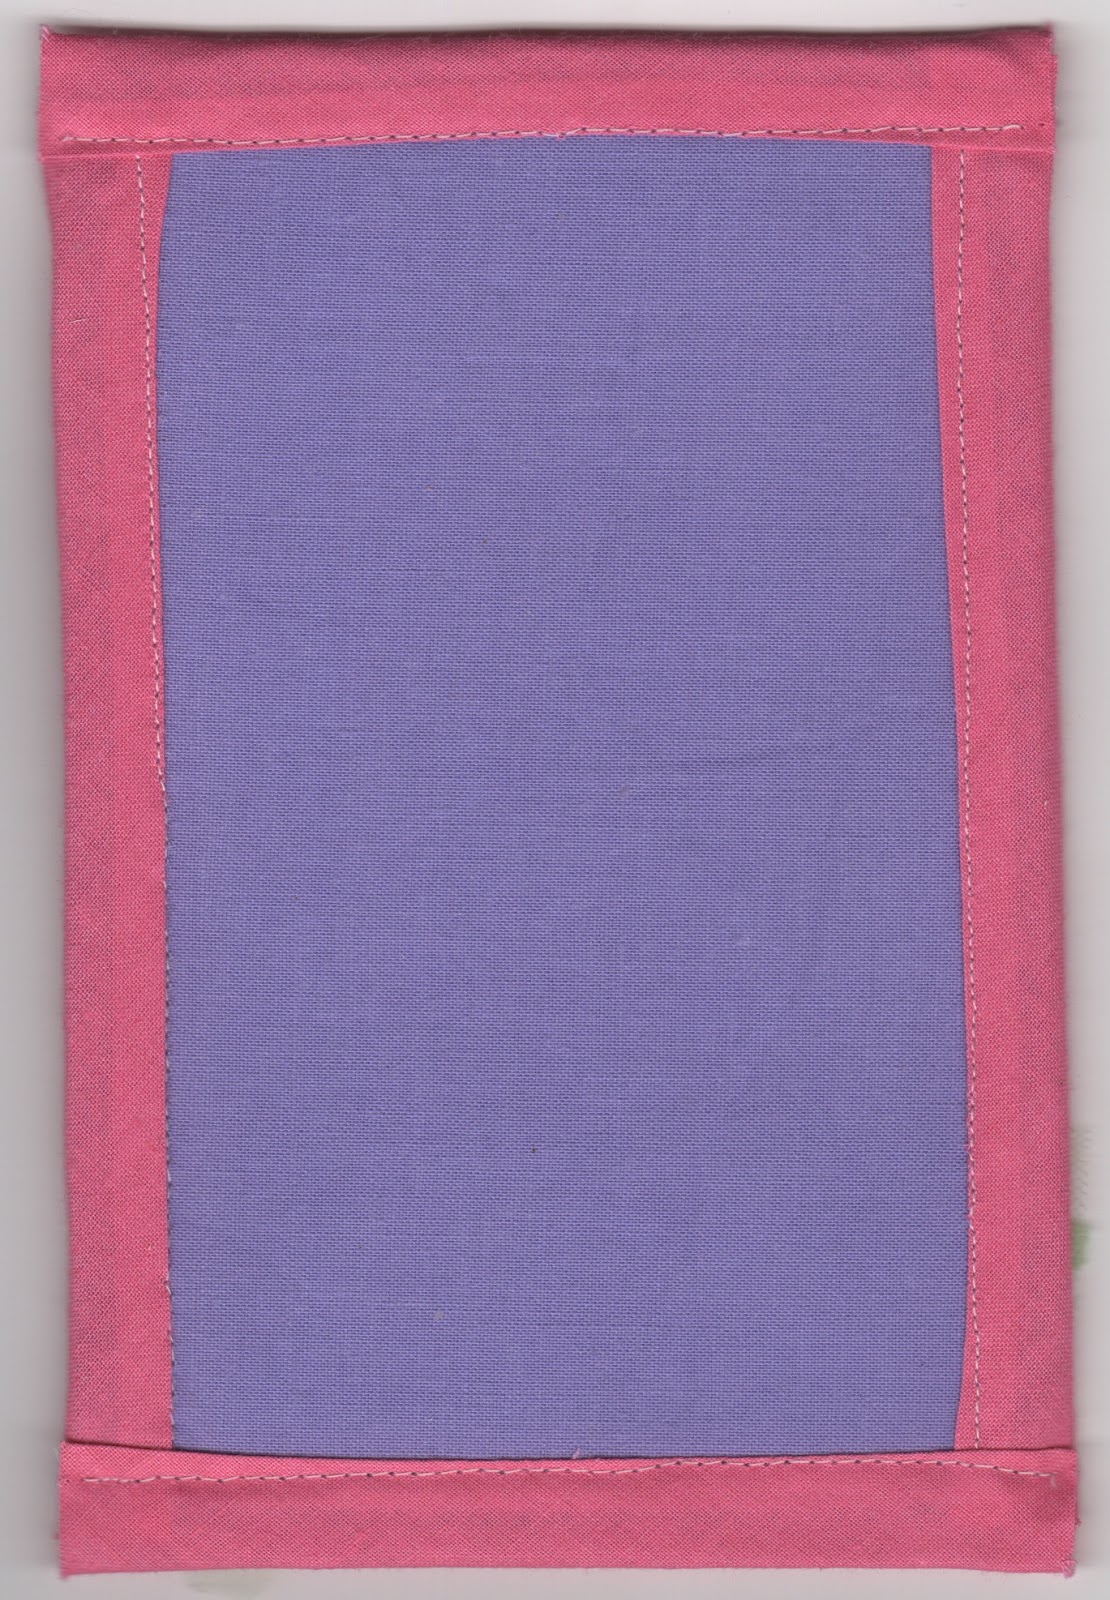
In this view of the back, I used bias tape
in four separate steps.  

This is an easy method.


Easy Method:
Don't try to turn or miter any corners, instead you will wrap and sew each straight edge separately.  Work clockwise around your postcard, but trim the wrap after each straight edge and before you continue to the next edge.  There will be raw edges at corners, but a postcard does not get very much wear and tear to worry about this.


Advanced Method:
Use a continuous wrap, plan ahead for mitering at corners and connecting at the final meeting location.  This will take longer due to the careful mitering and turning at corners.


For Variety:
  • Cut fabric strips with scallop rotary cutter or pinking shears.
  • Layer more than one fabric color.
  • Insert rick rack for interest

Apply with:
  • Fusible webbing
  • Double-stick tape
  • Fabric glue stick
  • Then finish by stitching

Helpful Tips:
  • Cut strips after you apply fusible web
  • Leave postcard perimeter free of design elements at least 3/4" from all four edges

Lace wrap on two edges only

Scallop rotary edges, fused then stitched


A double flange method made by 
Nancy Goodman of Illinois


A pinked cut edge by Nancie Voegele of Texas


You Might like these links to my past blog articles:

Wednesday, January 21, 2015

Tea Tag Tutorial

Tea Tag for Valentines Day

Sheree McKee
January 2015
sewfabsew.blogspot.com


If you’ve successfully created a fabric postcard then 
making a “Tag” from my tutorial will be easy!

Ways you can use tags:
Embellishment on a gift
Identification for travel totes or luggage
Label a valuable item like your laptop computer, diaper bag etc.,
Tie it on a purse handle for a pop of whimsy!
As a hanging ornament or bookmark

In this tutorial, you will sew up a heart-shaped Tea Tag. 
The approximate finished size is just under 4”x6”.   
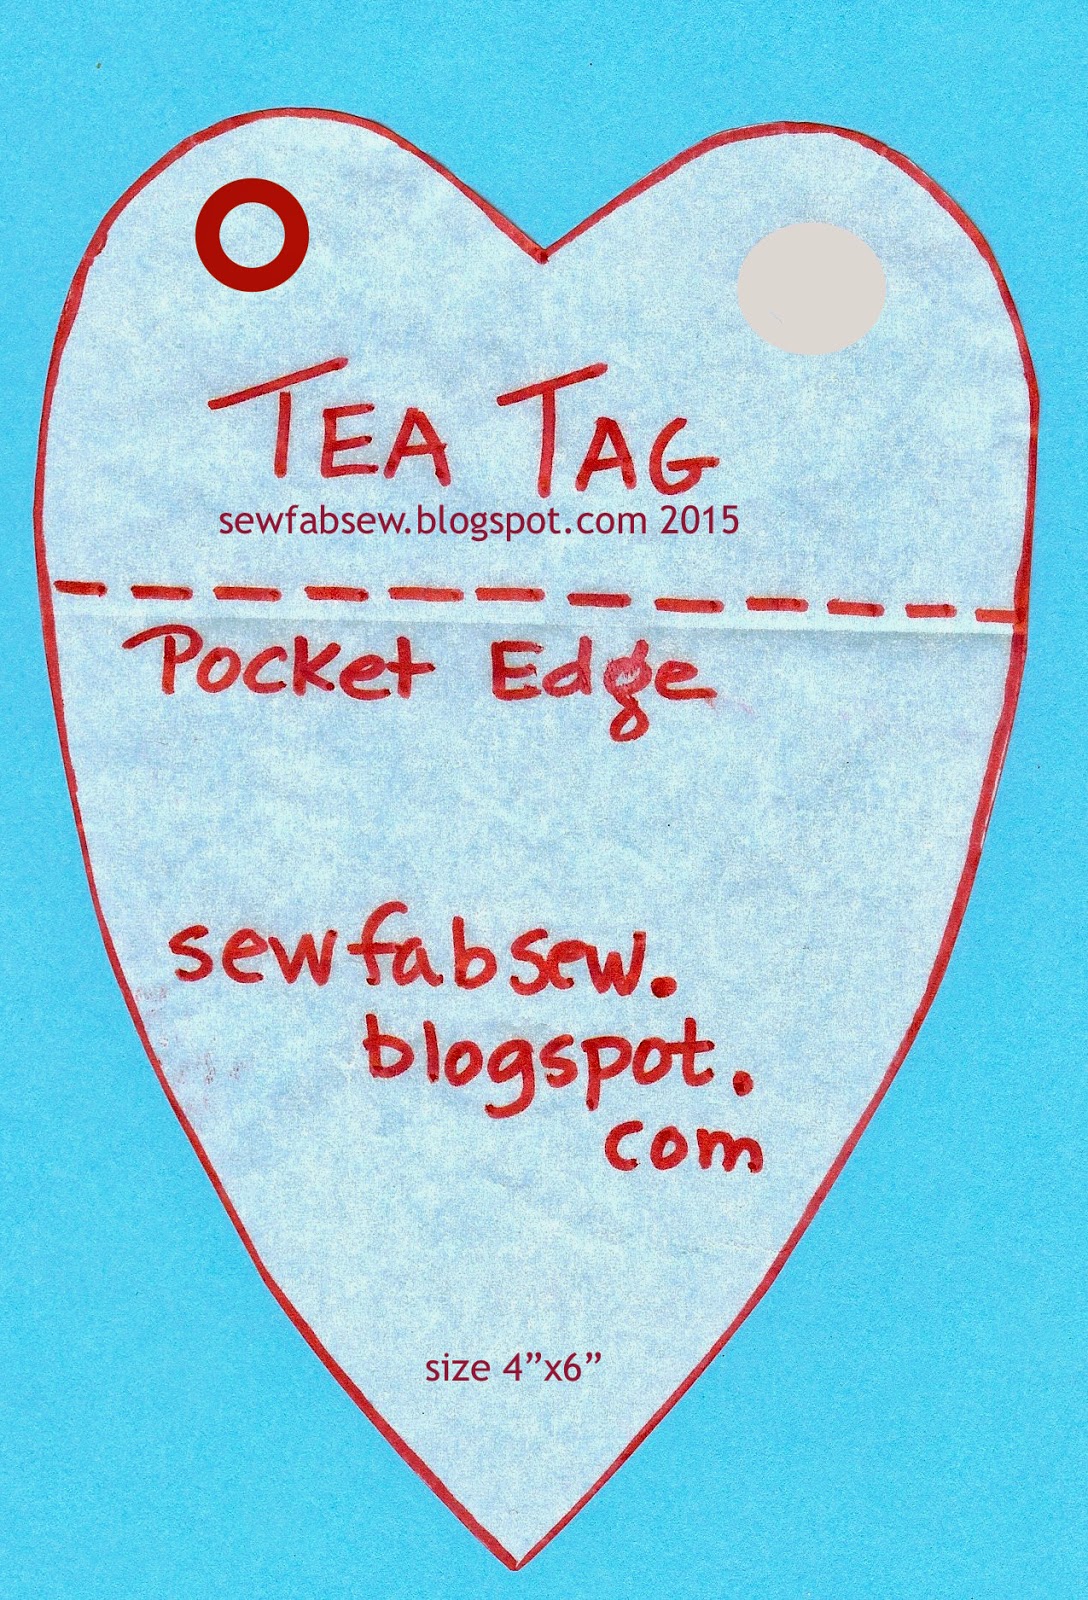
Begin by printing out the photo with a heart template below.


Template 4"x6"

Not only is the tag itself a useful accessory, but throw in a
few tea bags to make it a thoughtful and relaxing gift.

Gather together:
1-   Fusible Stiffener, approximate 4”x6” cut size
2-   Random fabric scraps to piece for front
3-   Fabric for back and pocket, 2 cuts 4”x6”
4-   Metal Grommet and tools… or you can substitute a buttonhole instead!
5-   Ribbons, cords, lace for tie
6-   Fusible web 4”x6”
7-   Optional pocket method:  Clear vinyl - cut larger than a business card
8-   Teflon foot or tear-away stabilizer used to sew over vinyl

Step One (front):
Piece and sew enough fabric strips and strings together,
to be larger than the template.
Press seams in one direction.
This is your heart front.  Fuse wrong sides to stiffener.
Arrange heart template diagonally across the front, pin and cut out.


Use up your scraps!

Now trimmed and fused to stiffener

Diagonal or Straight layout - your choice!


Step Two (back with pocket):
Cut 2” off the height of a single backing fabric. 
Double-fold down ½”, the top edge and topstitch two rows. 
This is your pocket top layer.
Lay pocket over the second fabric backing.  Align bottom and side edges.
Baste around four sides 1/8” from edges.


Two pieces needed to make pocket on back


Step Three:
With wrong sides together, align heart shaped front with pocket backing,
so pocket opening is about 1/3 from top.  Use fusible web between the  layers to bond together.  Cool then carefully trim heart shape a second time.  Double check to make sure pocket size can hold either a tea bag or a business card. 


Wrong sides together before fusing!


Step Four:
Finish outer edges with satin or decorative stitch of your choice.   Cut hole for grommet in upper corner, or stitch a 5/8” long buttonhole.  Tie on one or more ribbons!  Tuck a few colorful and tasteful tea bags in the pocket!


Grommet tools

Or cut a circle opening

Inserting grommet parts

Lace ties add a nice touch for Valentines Day


And here's a few luggage tags
made the same way!

Luggage tags with clear vinyl pocket

Luggage tag

Wednesday, January 29, 2014

Pretty little Postcards ~ in fabric


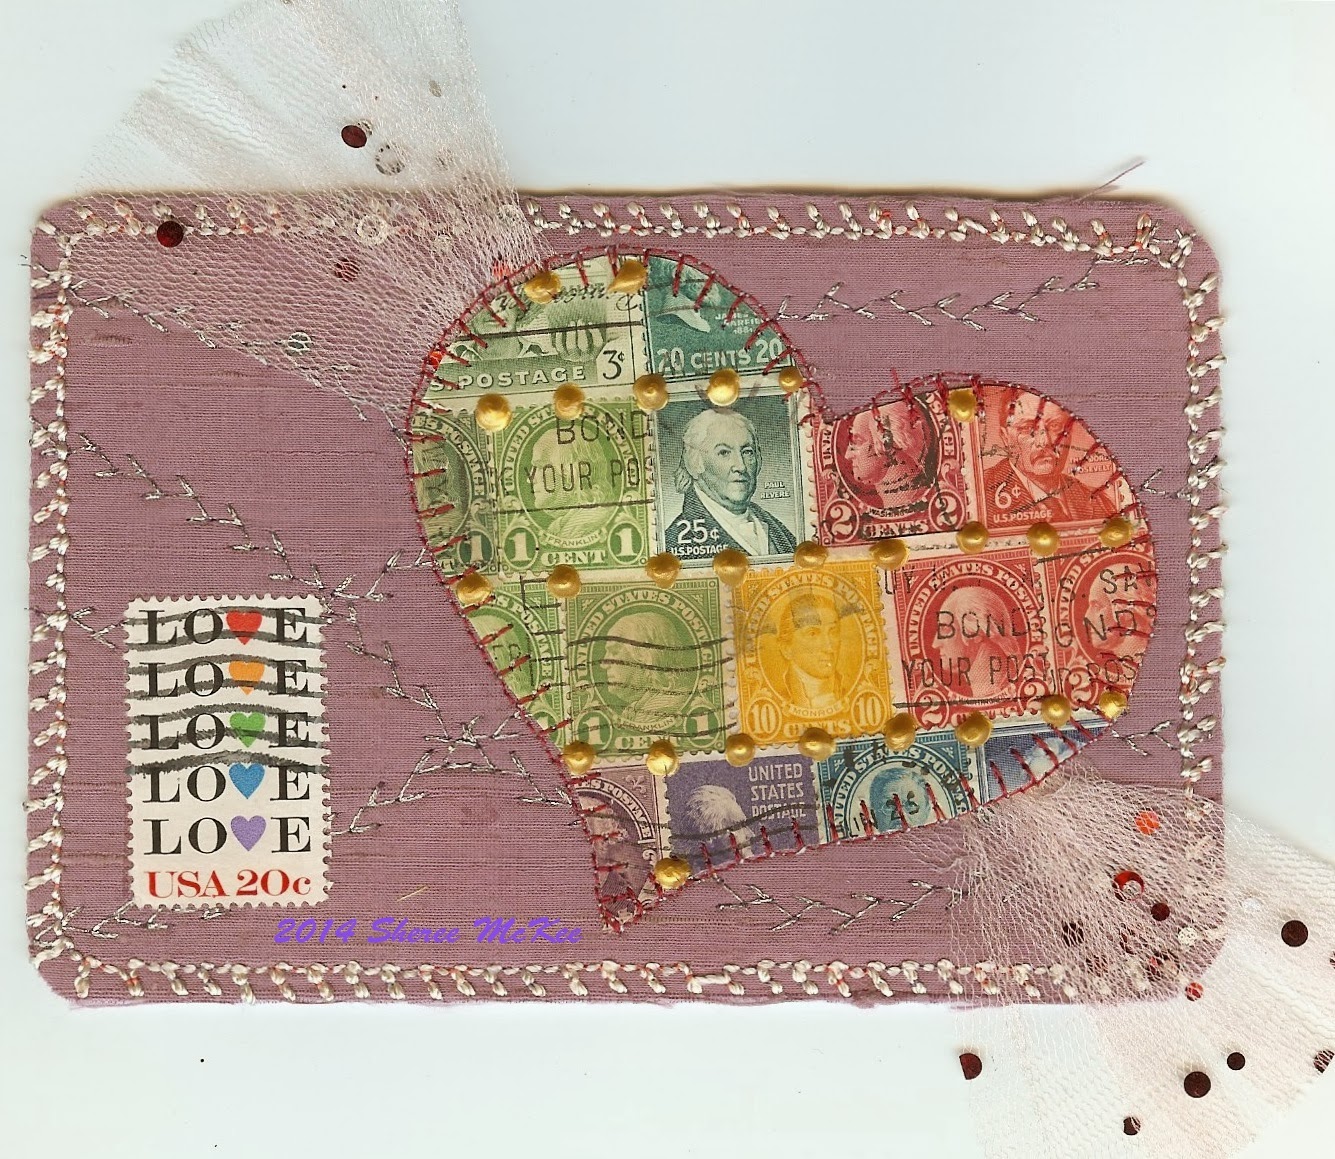
Love stamp in reds, on silk dupioni
Love Stamp and rainbow colors
I added metallic decorative stitches in the background
Celebrate stamp was sent as a
birthday postcard to a friend
Postcards are 4"x6" even with this tail
it will still fit into a clear envelope

January 2014
Sheree McKee
sewfabsew.blogspot.com


Welcome !  This is my new blog, dedicated to a current obsession with fabric postcards.

Here are some recent creations I made to exchange with members of an online swap group.  Our theme was Every Stamp Tells a Story.

Dimensional fabric paint looks like metal rivets

I confiscated an old box of mixed stamps from my sons closet. He never really got interested in stamp collecting.  I figured recycling the postal treasures would make great sense
for this sewing project.


I began by selecting a story stamp, such as birds, love, flowers.  Then I took random portrait stamps and created a "stamp fabric" with them.  I  layered them onto the back sticky side of heavy duty, clear packing tape. Then I cut out a motif shape.


My first "stamp fabric" was attached to duct tape, but warning.... stitching through it gummed up my machine needle!  However, the clear packing tape was much cleaner to sew through.

The dimensional paint dabs (rivets) have a reason.  They hold down the intersection of stamps.  Some of the older stamps wanted to curl away from my tape.  Next time I will gently iron them flat before adhering.


It's rare that I ever make two identical postcards.  I like to experiment with changes in the background fabrics and edge finishes.  If you don't have old postal stamps, you could use a variety of stickers for this method.


Fabric postcards can be flat or embellished. They are often a collage of fabrics, trims, and other tidbits. The more dimensional you make your postcard, the more you'll pay for special postage rates to mail it.  I mailed some of these in clear cellophane envelopes.


Uncle Sam might be proud of my stamp recycling techniques. Or, as my sister stated, I could have just ruined a "really valuable" vintage stamp somewhere in these postcards.  Oops!


Thanks for stopping by.....

ShereeSews in M!ch!gan


                                                                                      A little glitter tulle and feathers add spark!


stitch by stitch