Showing posts with label shereesews. Show all posts

Wednesday, April 4, 2018

Spring Landscapes 2018 Critique


Sheree McKee
April 2018
SewFabSew.blogspot.com


Spring Landscapes 2018 Critique

I'm not ashamed to critique my own work.  I learn from it.  One of the reasons, I rarely create identical fabric postcards is because I learn something from each progression of construction.


To begin, my Spring Landscape swap was inspired by a screenshot on my iMac computer -as seen above.  I fell in love with the clear and sharply focused reflections in the water.  
The colors were soft hues of pink and plum.  


Attempt #1
Purple / Aqua
My tree line fabric did not have enough contrast on the right side. It blended into the purple mountains behind.  I used a triple stitch of variegated thread for defining the water waves.  I regret using a too wide satin stitch to define the ground. This sky is an iridescent watercolor fabric with a touch of sparkle.  My favorite part is the corded edging.

Attempt #2
Purple / Lime Green
I reversed the layout by moving large mountains to opposite side.  I used a lime green tree line for more contrast.  I switched to a decorative stitch that look like spiked bushes at the groundline. I felt the water needed to be milky so I added a single layer of sparkle organza.  Then I used a wave stitch and changed the length for each row of stitching so all the waves were not evenly spaced.  The sparkle organza looks better in reality, than in this photo. The sky fabric has metallic silver circles which represent swirls of wind.

Attempt #3
Orange / Green
I found some orange fish fabric and thought it would make a great lake.  Of course, a reflection of the sunny sky.   This time, I layered some peach colored bridal tulle over the water, to mute the water.  I don't like my choice of straight stitching along the green mountain tops and really should have used a different stitch. I used a dark green corded edge, but it really isn't even noticed.

Attempt #4
Orange / Green
My blanket stitch on hills better represents blades of grass.  But I messed up, by using two layers of aqua organza on the water.  The two layers are too opaque to see the fish in water, they are lost.  If you notice the corded edge...  I tied random knots in the cording to add a unique texture along the outer edges, but this is very hard to stitch.  It is hard to get the presser foot over the lumps evenly.


Miriam from Ireland
Created a landscape of the historic Poulnabrone Dolmen, a Celtic tomb
in Ireland.  She cleverly used a frayed fabric to create grass, and
a layer of tulle for texture on the ground.


Sue B from California
Created a seascape landscape.  The seagrass and flowers are free-motion stitched. The watercolor sky and background remind me of Diamond Head volcano in Hawaii


Tuesday, March 7, 2017

Sewing Green

March 7, 2017
Sheree McKee

sewfabsew.blogspot.com


Display fabric postcards


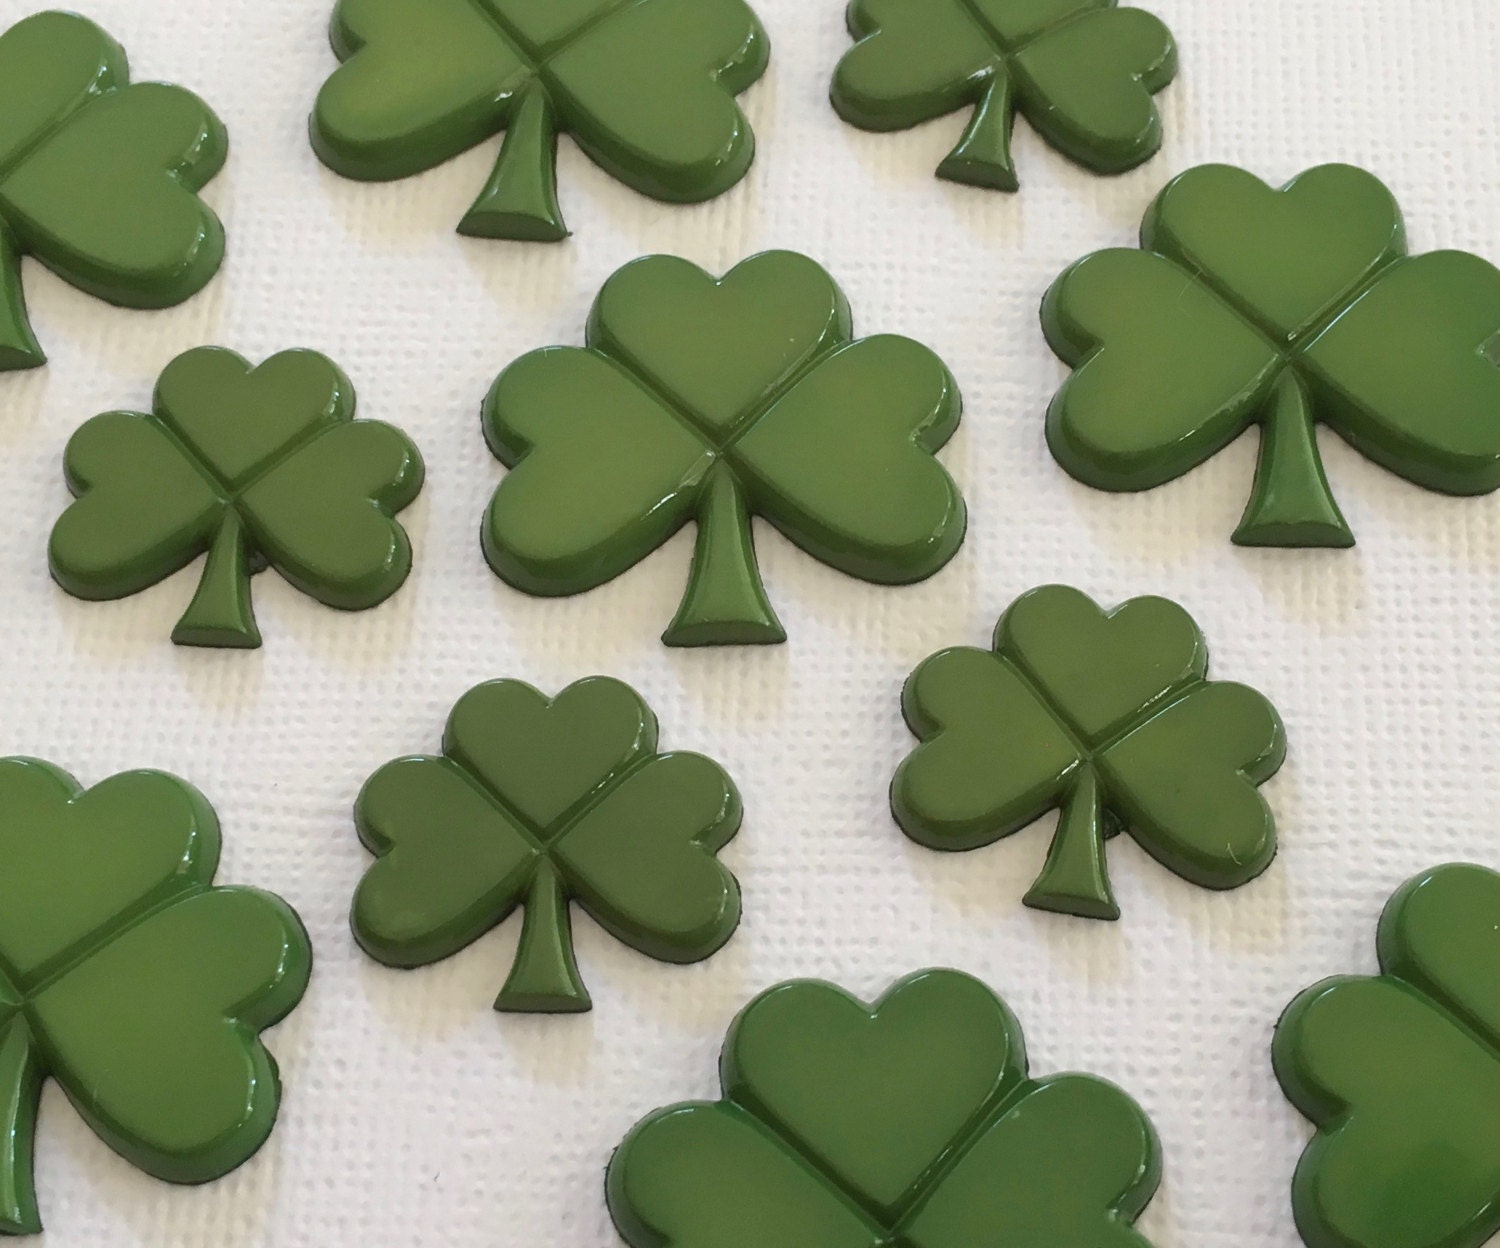
๐Ÿ€ Green Green Green... the color is fresh and cheerful.  It's also the welcoming spring hue of St. Patricks day.

I like to display my collection of swapped fabric postcards (FPC) during holidays.  They have replaced traditional holiday decorations in my kitchen.


Display fabric postcards

๐Ÿ€March in Michigan still feels like winter without any leaves on the trees plus cold weather

This window has a north exposure.  Since the postcard backs face outward, and they only display for about 10 days, I really don't worry about any fading from sunlight.


Display fabric postcards

๐Ÿ€ One of my favorite holidays is St. Patricks Day.  I try to join postcard swaps during this time of year, just to increase my collection of Green fiber postcards!


sewfabsew.blogspot.com

๐Ÿ’šRecently, I completed these green postcards for an upcoming March swap.

They are dimensional pinwheels, inspired from a blog by Teresa Down Under called Sewn Up: 41 Fabric Manipulations

If you look closely, you will see a gemstone on each one.

Here is the link to Origami Pinwheels by Teresa Block #22


prairie points at sewfabsew.blogspot.com

๐Ÿ’š This postcard contains 5 different prairie points.  It was an impromptu throw-together, without any planning.  Just a sew as-you-go project.  But I am happy with the results.


Threads for couching and bobbin-work

Speaking of green, let's talk about a few "green things" you might want to try on your postcard projects.

Knit-Cro-Sheen by JP Coats works nicely for "Couching" and "BobbinWork" techniques.  It is a size 10, cotton crochet thread that comes in solid or variegated colors.

This multi-tonal green has many uses and is one of my favorites to work with.

Pearl Cotton by DMC is another great alternative with a beautiful pearl finish.


COUCHING:

I have zig-zagged over stands of crochet thread to add surface texture on past fabric postcards.   I've also couched several strands at a time, using a specialty presser foot, along the outer edges of my postcards. This makes a unique looking edge.

BOBBIN-WORK:
  1. While these threads are too thick to use in a machine needle, you can hand-wrap a bobbin with them.  
  2. Then loosen your bobbin case screw to allow an easy thread flow.  
  3. Now you can stitch on the wrong side of your project to create some "Bobbin-Work" techniques.  
  4. With bobbin-work it's best to use airy, loose-style decorative stitches to prevent knotting.  
  5. Select a longer stitch length and a tighter top tension to draw the heavy threads upward .  
  6. Test a stitch sample to get the feel and look you want, for best results.


Trim for embellishment


RICK RACK:

Or spelled Ric-Rac, is a craft braid trim that's flat, usually polyester and used for sewing and crafting.  This trim comes pre-packaged or by-the-yard.  It can add a whimsical addition to your FPC.  Some crafters and seamstresses prefer the vintage cotton versions when working with vintage fabrics.


COMMON RIC RAC SIZING:
  •   Baby 1/4" width
  •   Medium 1/2" width
  •   Jumbo 5/8" width

HELPFUL and FUN BLOGS:

Attached to Rick Rack Blog

How to Sew with Rick Rack: The Most Terrific of Trims

How to Sew RickRack to your Quilt like an Expert

Fusing Rickrack Tutorial


https://www.etsy.com/shop/MakinPretty23
www.etsy.com/shop/MakinPretty23


BUTTONS:

Buttons and flat embellishments are the perfect compliment to a fiber postcard.  But their thickness can add to the cost of shipping if your envelope is more than 1/8" in thickness.  

When I create highly embellished postcards, I usually ship them inside envelopes to protect the surface.  Sometimes I add a single layer of bubble wrap over top. And I automatically plan on using two-ounce postage rates.


Fine pewter buttons made by treasurecast.com
Celtic Sisters Knot


Heart celtic buttons by treasurecast.com
treasurecast.com


CELTIC PEWTER BUTTONS:

Here are some beautiful Celtic Buttons created in fine pewter by Treasure Cast of Boise, Idaho.  

These USA made, pewter buttons have shanks to either sew on, or clip the shanks off with a wire cutter and glue the buttons in place with some E-6000 adhesive.


A handmade, St. Patricks Day postcard would make a nice surprise to send to your friends!


Pull out all your green fabrics and notions to stitch up your creation!


~ ~ ~ ~ ~ ~ ~ ~ ~ ~ ~ ~ ~ ~ ~ ~ ~ 


Past Blog Posts that you might enjoy!

Irish Postcards

Marker Art


SaveSave

Sunday, February 26, 2017

Surface Dimension for your Fiber Postcards


February 2017
Sheree McKee
sewfabsew.blogspot.com


Do you appreciate texture and dimension in your textile projects?  I do, and I often think about methods to add surface design to my postcard creations.  These Fabric Postcards (FPC) were fun to make using an Origami technique for folding and manipulating cotton fabric into flowers.

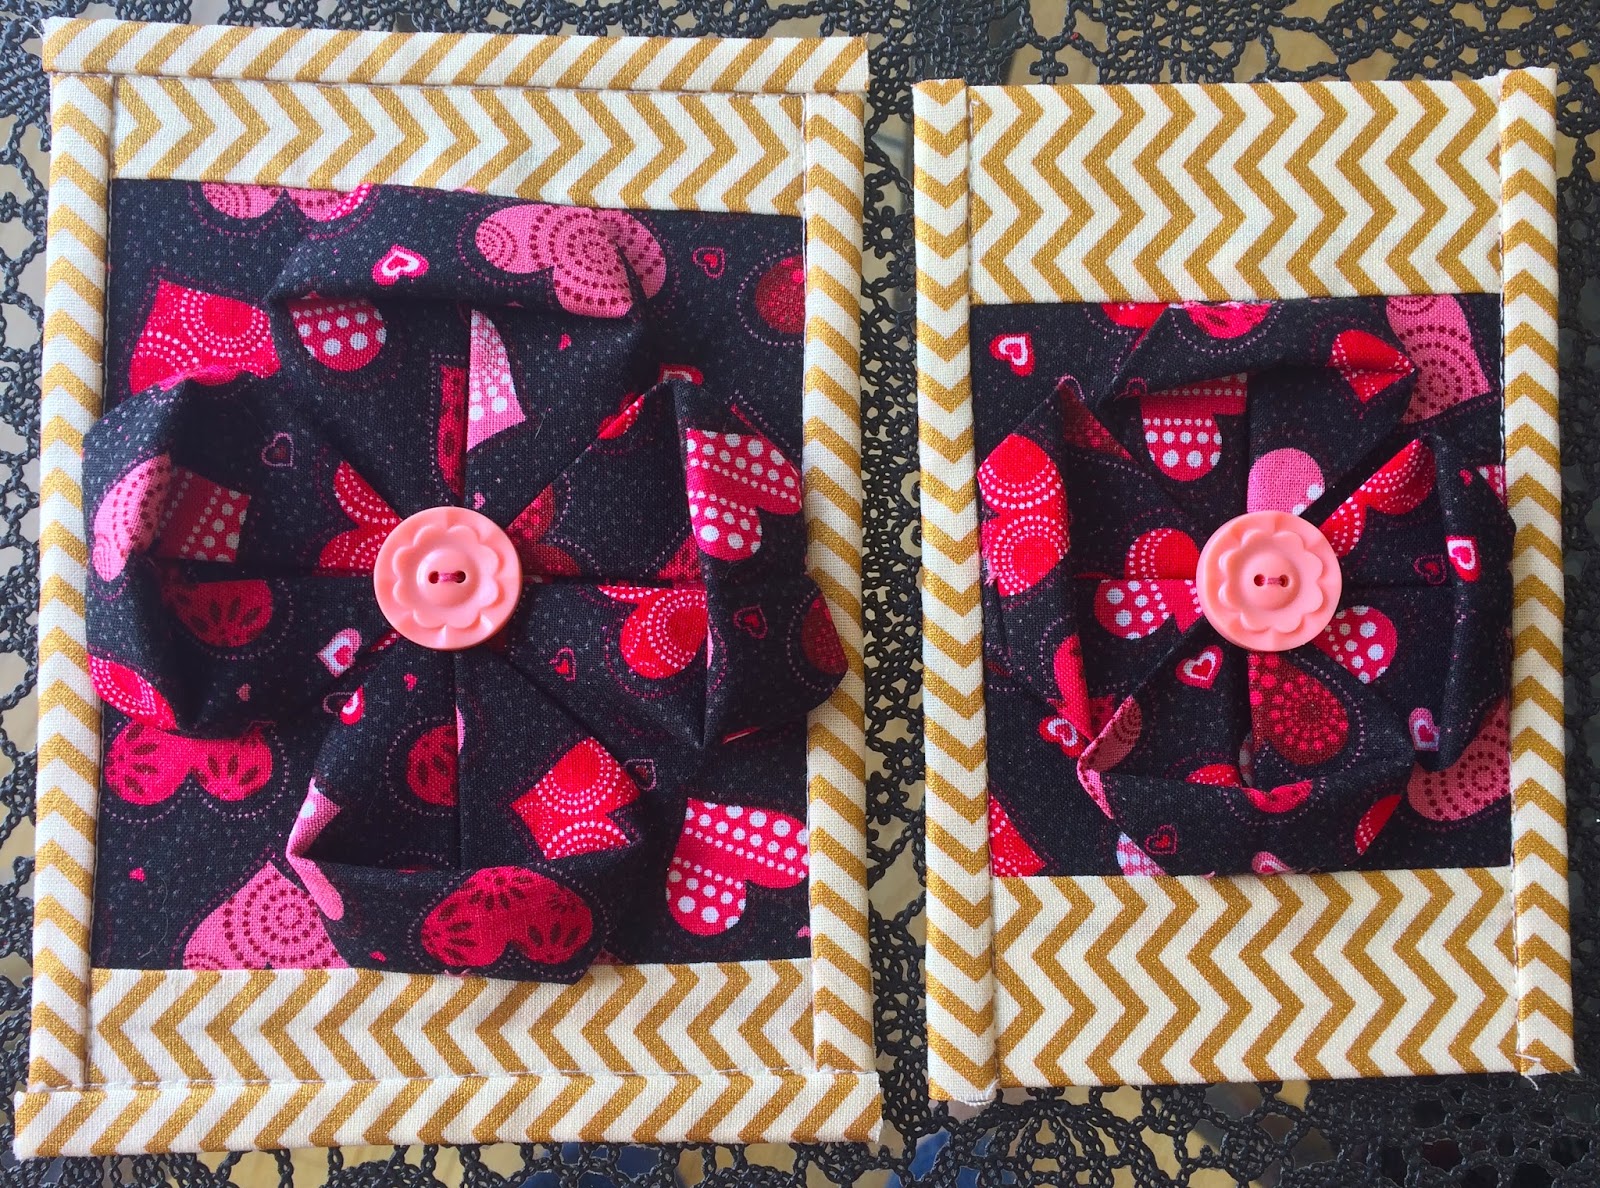
Image 1 Valentine Purple
Petals are in 12-3-6-9 o'clock positions
and flattened then secured into the  binding seams.
Folded Flower block was set at top half of postcard
allowing a bottom black band


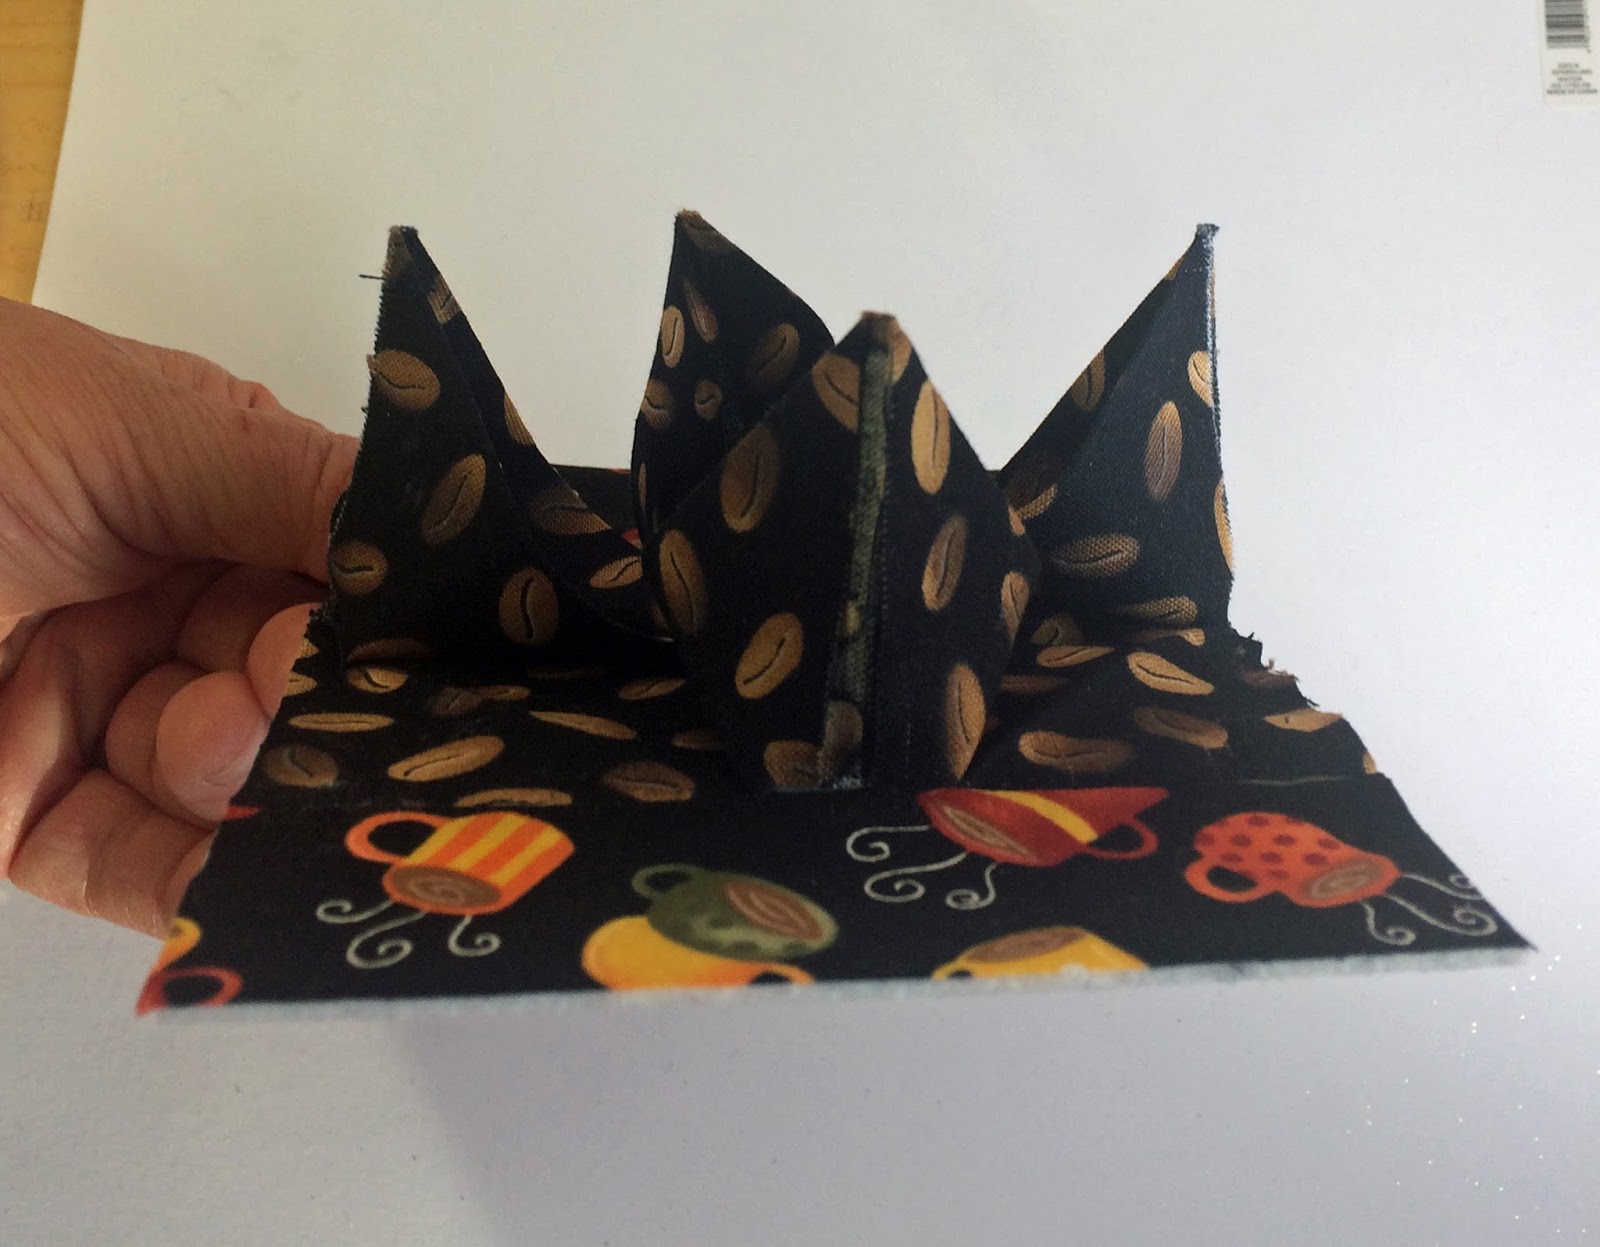
Image 2 Coffee Canisters
Petals were left free in this example

While the construction looks like four individual flower petals, similar to Kanshashi.... they aren't.  Instead, I used a single 9" square of fabric folded down to create the flower medallion.  These are constructed into the fabric postcard, not simply added on top.

My inspiration came from a blog called Sewn Up by TeresaDownUnder.  She has a tutorial section on her blog called "41 Fabric Manipulations" and it is enjoyable!  Her site is full of dimensional quilt blocks and tutorials on folding, pressing and stitching methods.  I used her Block #20: Origami Flower.

I don't want to re-invent the wheel so I suggest you review and practice by watching her tutorial video a couple times.  Then come back for methods to turn your Origami flower into a FPC.  Here is the helpful You-Tube Video on Block #20 by Teresa.

TeresaDownUnder starts with a 10.5" fabric square in her tutorial, but it is too large for our postcards.  After testing, I eventually reduced my starting fabric square down to 8 1/2" for the sake of fitting onto a standard 4"x6" postcard.  However, I suggest that you learn the technique, by starting with a folded sample made from the demonstrated 10.5" size.  Perfect it first, then move down to the more challenging 8 1/2" fabric square.


Image 3
Left is made from 10.5" starting fabric square which yields a 5x7" postcard
Right is made from a 9" starting fabric square which yields a 4 1/4" x 6 1/4" postcard
These petals were rolled under and stitched to secure in place
Image 4 - Side profile shows dimension


Several different flower petal styles depend on whether you: 
  • Leave the petal edges free  (see Image 2)
  • Roll the petals under and secure stitch  (see Image 6)
  • Flatten and secure into edge bindings  (see Image 1)

Rotate the folded Origami square so the petals lay either:
  • Square to the postcard edges (see Image 1)
  • Diagonal to the poscard edges (see Image 5)

Image 5 Valentine Red
Petals in the 1-5-7-11 o'clock position by rotating the
flower block and the petal tips are kept free.
Flower block centered on FPC with two rows
of grosgrain ribbon on each side of it


Image 6 Valentine Black
I rolled each petal edge under then secure stitched in place

Changes I made that differ from the video:
  • I reduced starting fabric square to 8.5" in order to yield a 4"x6" finished size
  • I fused tiny pieces of webbing inside each petal point (see image 6)
  • Sometimes I tear my squares to keep on grain, but you could use a rotary cutter

Image 7
Fuse down eight points with small
amount of fusible webbing to secure points

Construction Steps:

1. Press and make a folded flower from 8 1/2" fabric square
2. Fuse webbing inside eight petal points (4 points x 2 sides)
3. Open flaps and secure middle of flower with a sewn button
Step 1

4. Cut a 4 x 6 piece of stiff stabilizer - I use Peltex 70
5. Decide where you want your flower located on stabilizer (centered vs. top or bottom)
6. Pin it in place

Step 4 testing a square layout
Step 4 alternate diagonal layout

7. Sew flat grosgrain ribbon to hold flower in place on the stabilizer or
8. Stitch and flip coordinating fabrics to secure it to the stabilizer

Step 8 diagonal setting


Step 8 squared setting

Step 8 squared setting with flower at top position of postcard

9. Trim excess fabrics then topstitch around perimeter


Step 9 trimmed to 4"x6" before topstitching perimeter
Keep petals out of the way


10. Prepare a postcard backing and fuse it backside


Step 10

11. Decide an edging method (satin stitch, decorative stitch, binding)

Decorative Stitched Edge

Partial Binding

12. Gently shape flower petals by pushing petal upward and tips downward


Image 8
For a Coffee Themed Swap
at PostcardMailArt on Yahoo Groups
Image 9
For a Coffee Themed Swap
at PCMA


~ ~ ~ ~ ~ ~ ~ ~ ~ ~ ~ ~
Thanks for stopping by!


Another of my Blog Posts you might enjoy:

Writing on the back of your Fabric Postcards


Saturday, October 18, 2014

Puffy Pumpkin Postcard

PUFFY PUMPKINS
October 2014
Sheree McKee
sewfabsew.blogspot.com


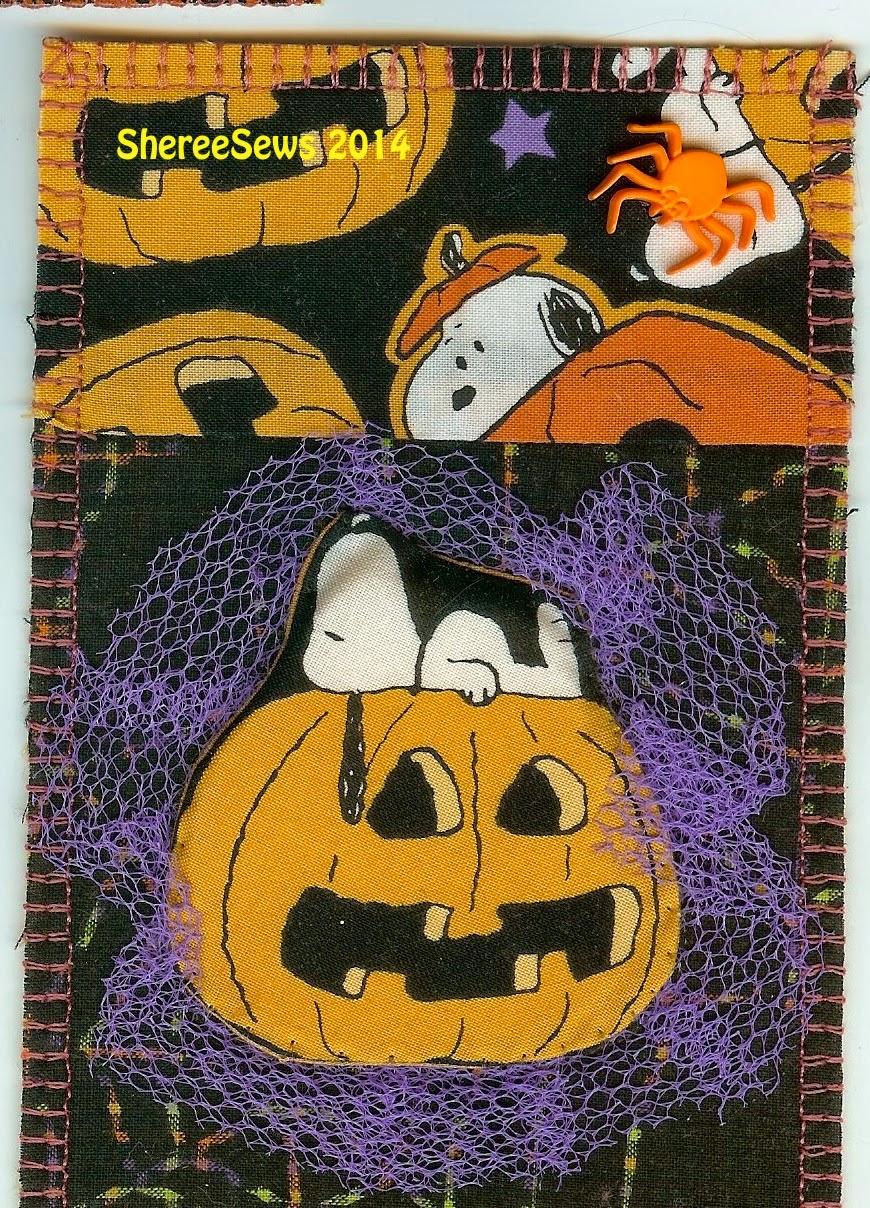
These fall-themed fabric postcards (FPC) feature fluffy little pumpkins surrounded 
by a ruffle of netting.  You can use any seasonal fabric motif that is 
approximately 2”x2” in size.

Supplies:  motif fabric, solid liner fabric, pinch of polyester batting, 3”x14” netting 
or tulle, monofilament thread, theme button or embellishment, 
interior stabilizer or stiffener

  1.   Prepare both sides of a 4”x6” postcard front that is 
fused to a stabilizer support.  
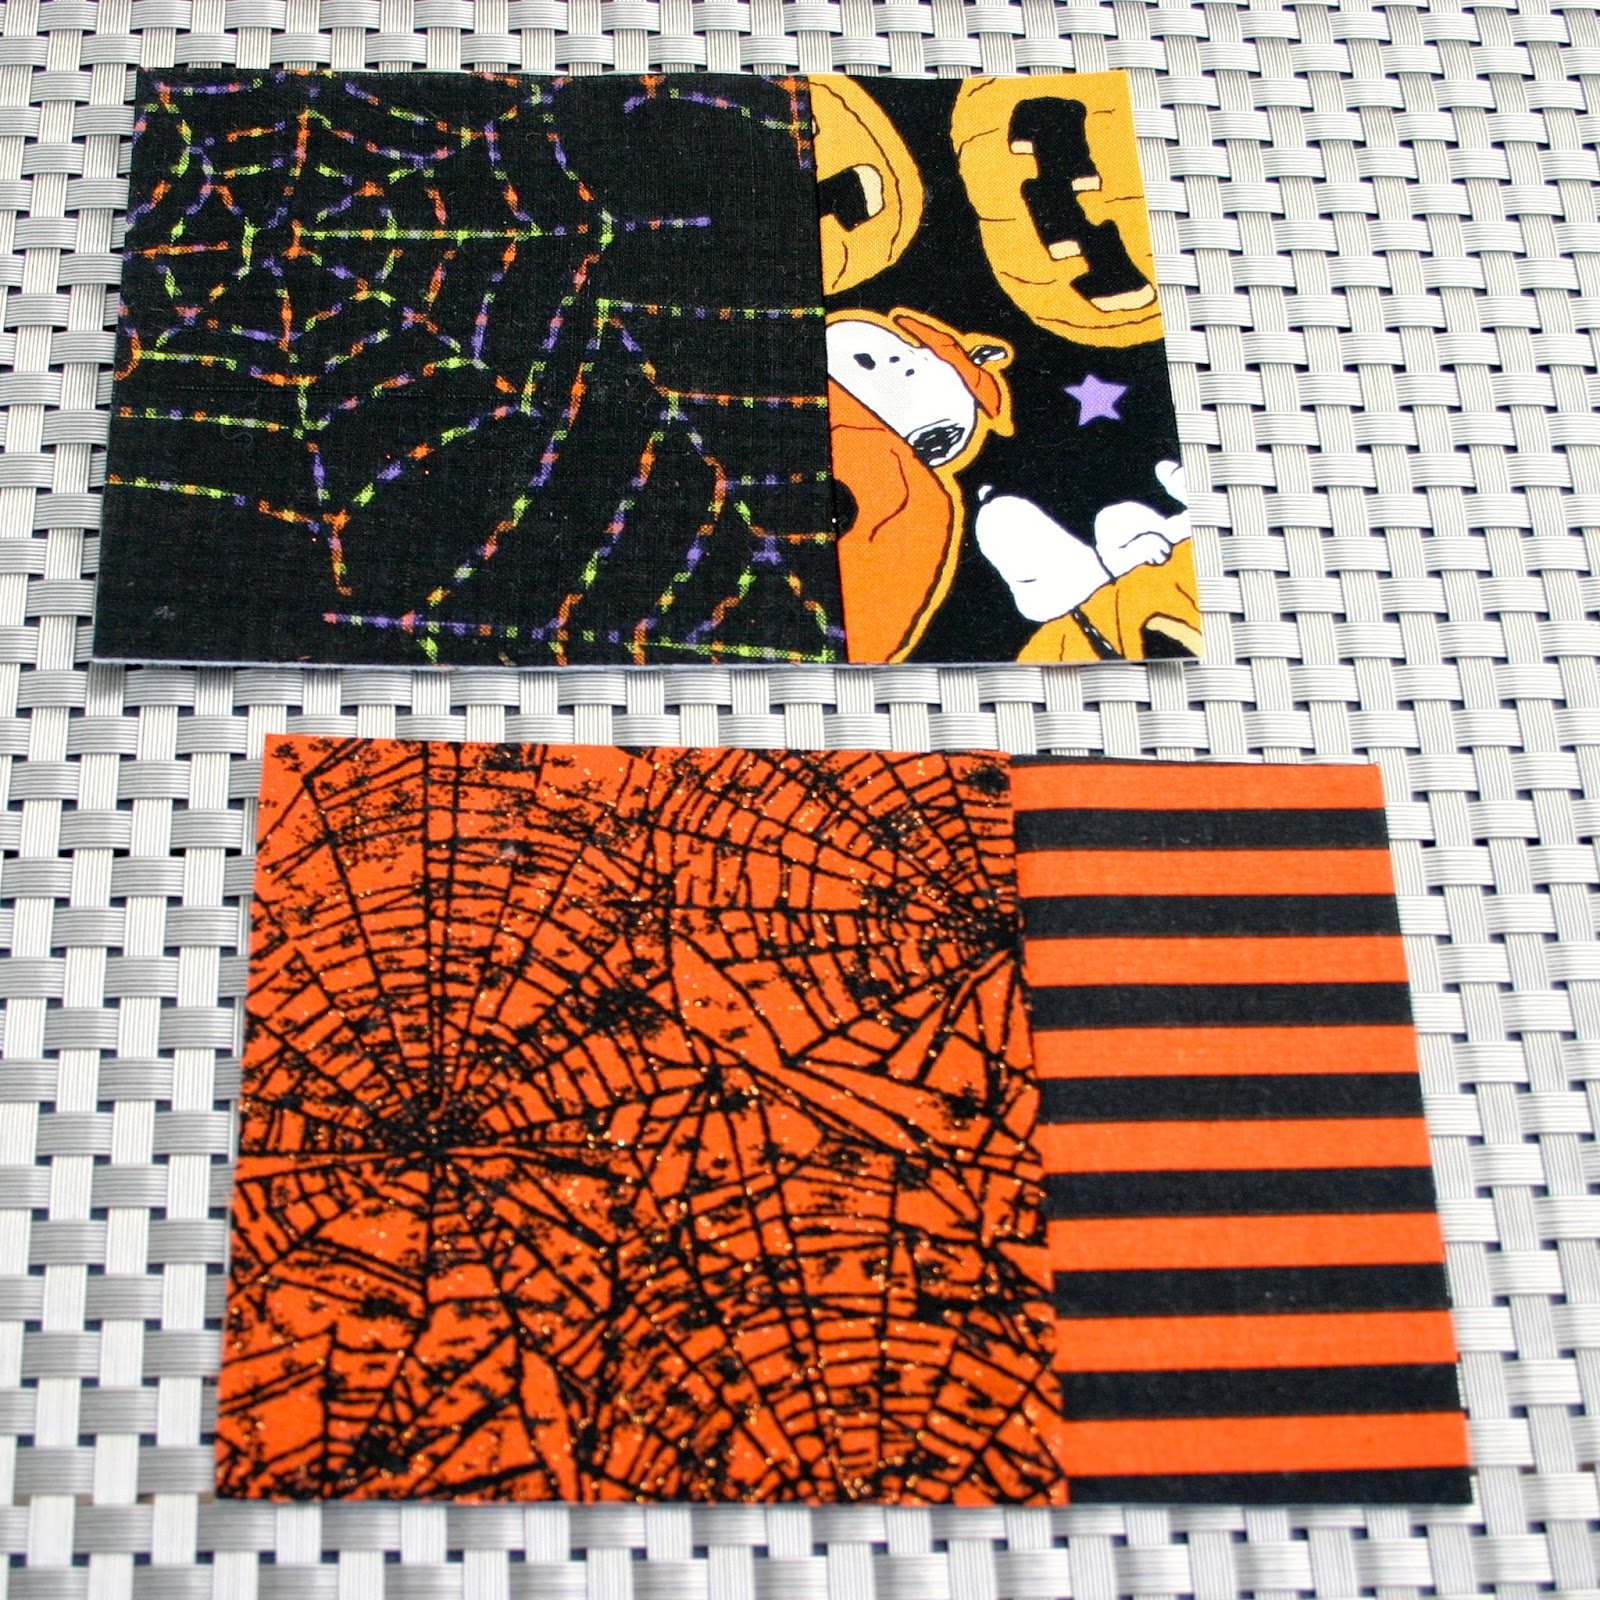
I have selected two prints, divided into 1/3 and 2/3 proportions for front.  
Also fuse your back liner in place at this time.


2.    Select any motif fabric where the designs are at least 2” in size and can be 
successfully trimmed around.  Also select a solid color coordinating lining that can be 
used to back the motif and on the address side of FPC.


3.    Place a square of lining on top of your motif and pin in place.  Right sides should be together.  Make sure lining is larger than the design.  Trim both layers.  
Flip over and stitch around the entire motif using 1.5 stitch length.  
Overlap your stitches at start and end.  Do not leave any opening. 


4.    Trim with pinking shears very close to perimeter.  
The pinking wedges allow a smooth edge when turning and 
prevent puckering if trimmed closely.


5.    Separate the two fabric layers slightly.  Carefully cut a 1 ½” slit into 
the lining layer only.  This will create a pocket area for turning and stuffing.  
Turn, smooth all curves, and press your motif.


6.    Stuff lightly with soft poly batting.  Do not overfill the stuffed motif.  
No need to stitch the slit closed, as it will be hidden. 


7.    Fold 3”x14” netting lengthwise in half.  Run a basting stitch along fold area.  
Gently gather and tie off in a circular shape ruffle. 


8.    Choose a placement for the ruffle and pin or gluestick into position.  

Keep away from edges of postcard.  The ruffle can completely circle your 
motif or partially surround it.  You decide!


9.  Cover ruffle with your puffy fluffy motif pillow!  Pin in place.


10. Thread machine and bobbin with monofilament thread.  
Select a utility stitch to sew around motif and occasionally zigzag or catch the pillow.  
Your stitches should be small and close.  See back above.


11. Finish FPC edges with your favorite decorative stitch.  
Embellish as desired with a spider button or decorative accent. 


Have a Happy Halloween!
ShereeSews in Michigan
~~~~~~~~~~~~~~~~~~~~~~