Showing posts with label valentine. Show all posts

Wednesday, February 14, 2018

Hugs & Kisses Valentines (Fabric Postcard) Swap

February 2018

Sheree McKee
sewfabsew.blogspot.com

PostCardMailArt Yahoo Group - Swap Club
I received the top three Valentines, and sent the pom-pom versions out as my swap.


Cherub Created by Meena S.
Michigan
Fabrics are a die-cut heart and cherub image.  Appliqué stitching and rubber stamped 


Rainbow Created by Jeanette 
Idaho
Print background with machine stitched appliqué and button embellishment


Satin Red Created by Miriam 
Ireland
Satin fabric heart with layered organza ribbon and decorative machine stitching


Created by Sheree M.
Michigan
Three have a scrunched fabric background with decorative stitching overlay.  Band of heart images are fused in place.  Bands are trimmed with various picot ribbon trim or lace.  Outer edge has applied mini pom-pom trim. 


Here's a 2017 Valentine sent to my daughter last year.  The contrast fabric faced heart is dimensional, and sewn through the middle so it flips open like a book.

Sunday, February 26, 2017

Surface Dimension for your Fiber Postcards


February 2017
Sheree McKee
sewfabsew.blogspot.com


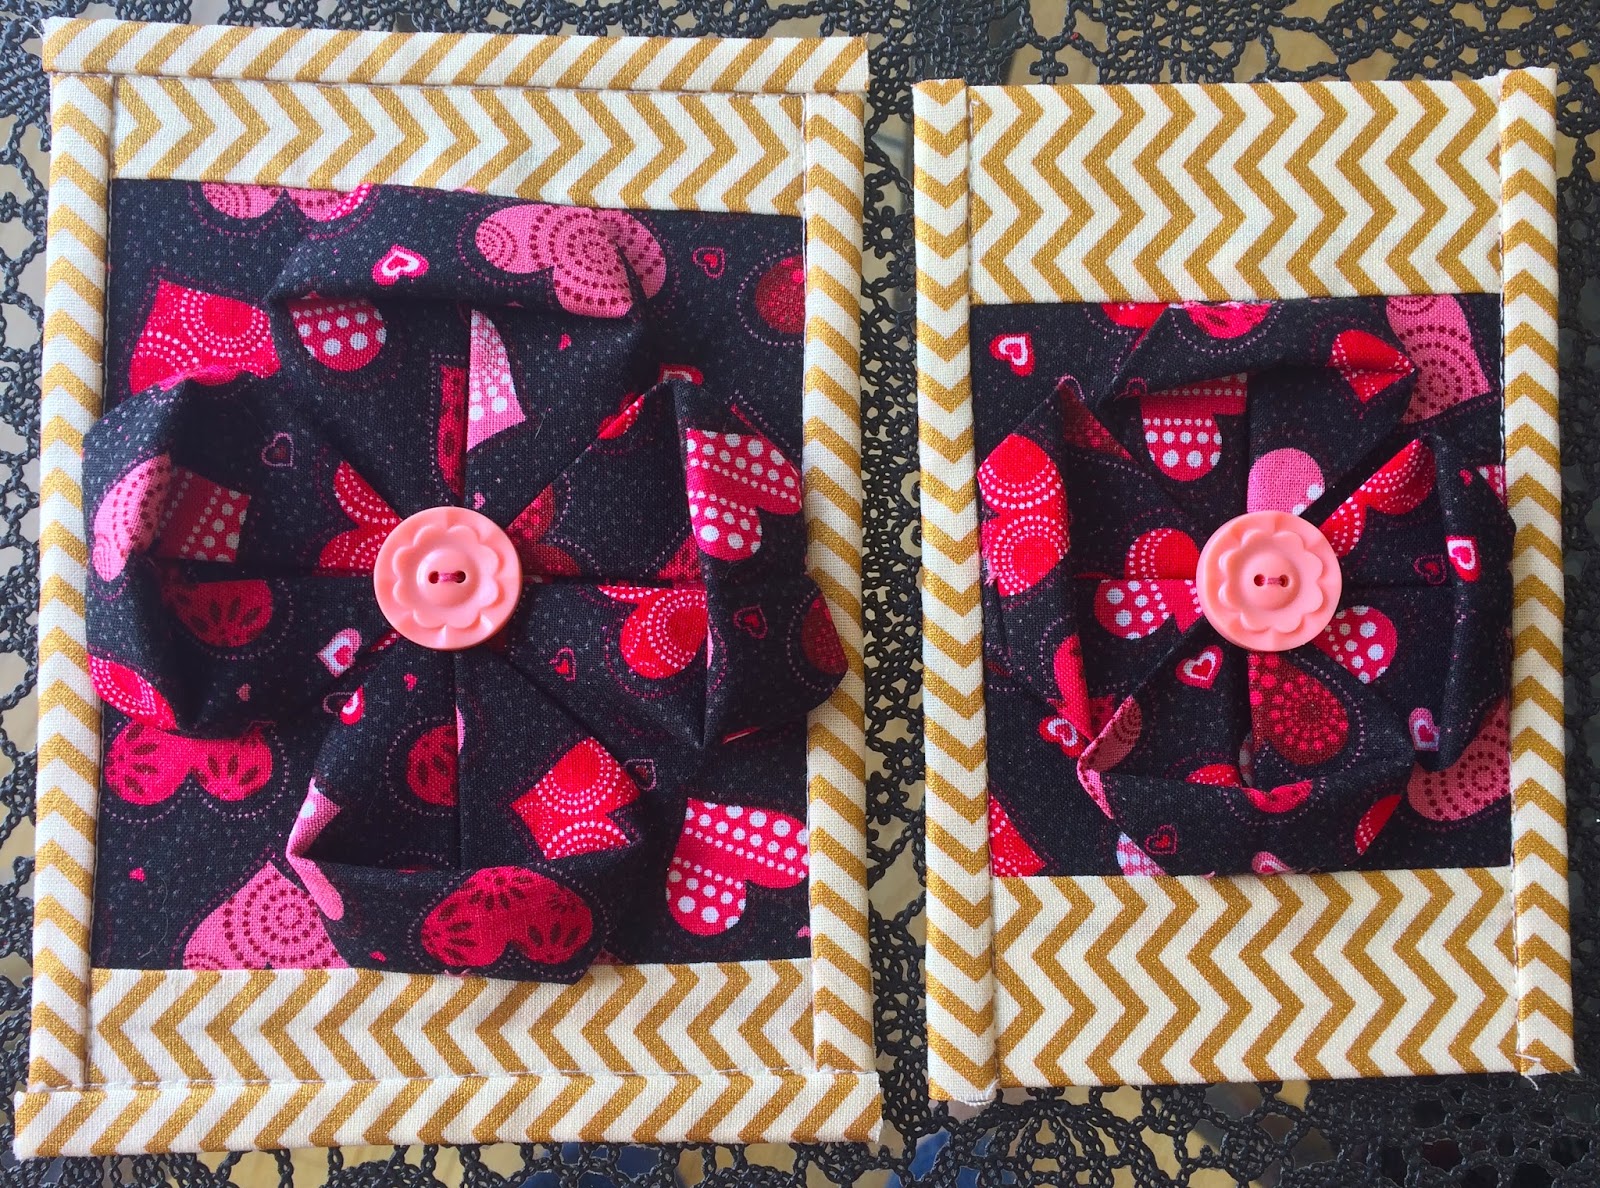
Do you appreciate texture and dimension in your textile projects?  I do, and I often think about methods to add surface design to my postcard creations.  These Fabric Postcards (FPC) were fun to make using an Origami technique for folding and manipulating cotton fabric into flowers.

Image 1 Valentine Purple
Petals are in 12-3-6-9 o'clock positions
and flattened then secured into the  binding seams.
Folded Flower block was set at top half of postcard
allowing a bottom black band


Image 2 Coffee Canisters
Petals were left free in this example

While the construction looks like four individual flower petals, similar to Kanshashi.... they aren't.  Instead, I used a single 9" square of fabric folded down to create the flower medallion.  These are constructed into the fabric postcard, not simply added on top.

My inspiration came from a blog called Sewn Up by TeresaDownUnder.  She has a tutorial section on her blog called "41 Fabric Manipulations" and it is enjoyable!  Her site is full of dimensional quilt blocks and tutorials on folding, pressing and stitching methods.  I used her Block #20: Origami Flower.

I don't want to re-invent the wheel so I suggest you review and practice by watching her tutorial video a couple times.  Then come back for methods to turn your Origami flower into a FPC.  Here is the helpful You-Tube Video on Block #20 by Teresa.

TeresaDownUnder starts with a 10.5" fabric square in her tutorial, but it is too large for our postcards.  After testing, I eventually reduced my starting fabric square down to 8 1/2" for the sake of fitting onto a standard 4"x6" postcard.  However, I suggest that you learn the technique, by starting with a folded sample made from the demonstrated 10.5" size.  Perfect it first, then move down to the more challenging 8 1/2" fabric square.


Image 3
Left is made from 10.5" starting fabric square which yields a 5x7" postcard
Right is made from a 9" starting fabric square which yields a 4 1/4" x 6 1/4" postcard
These petals were rolled under and stitched to secure in place
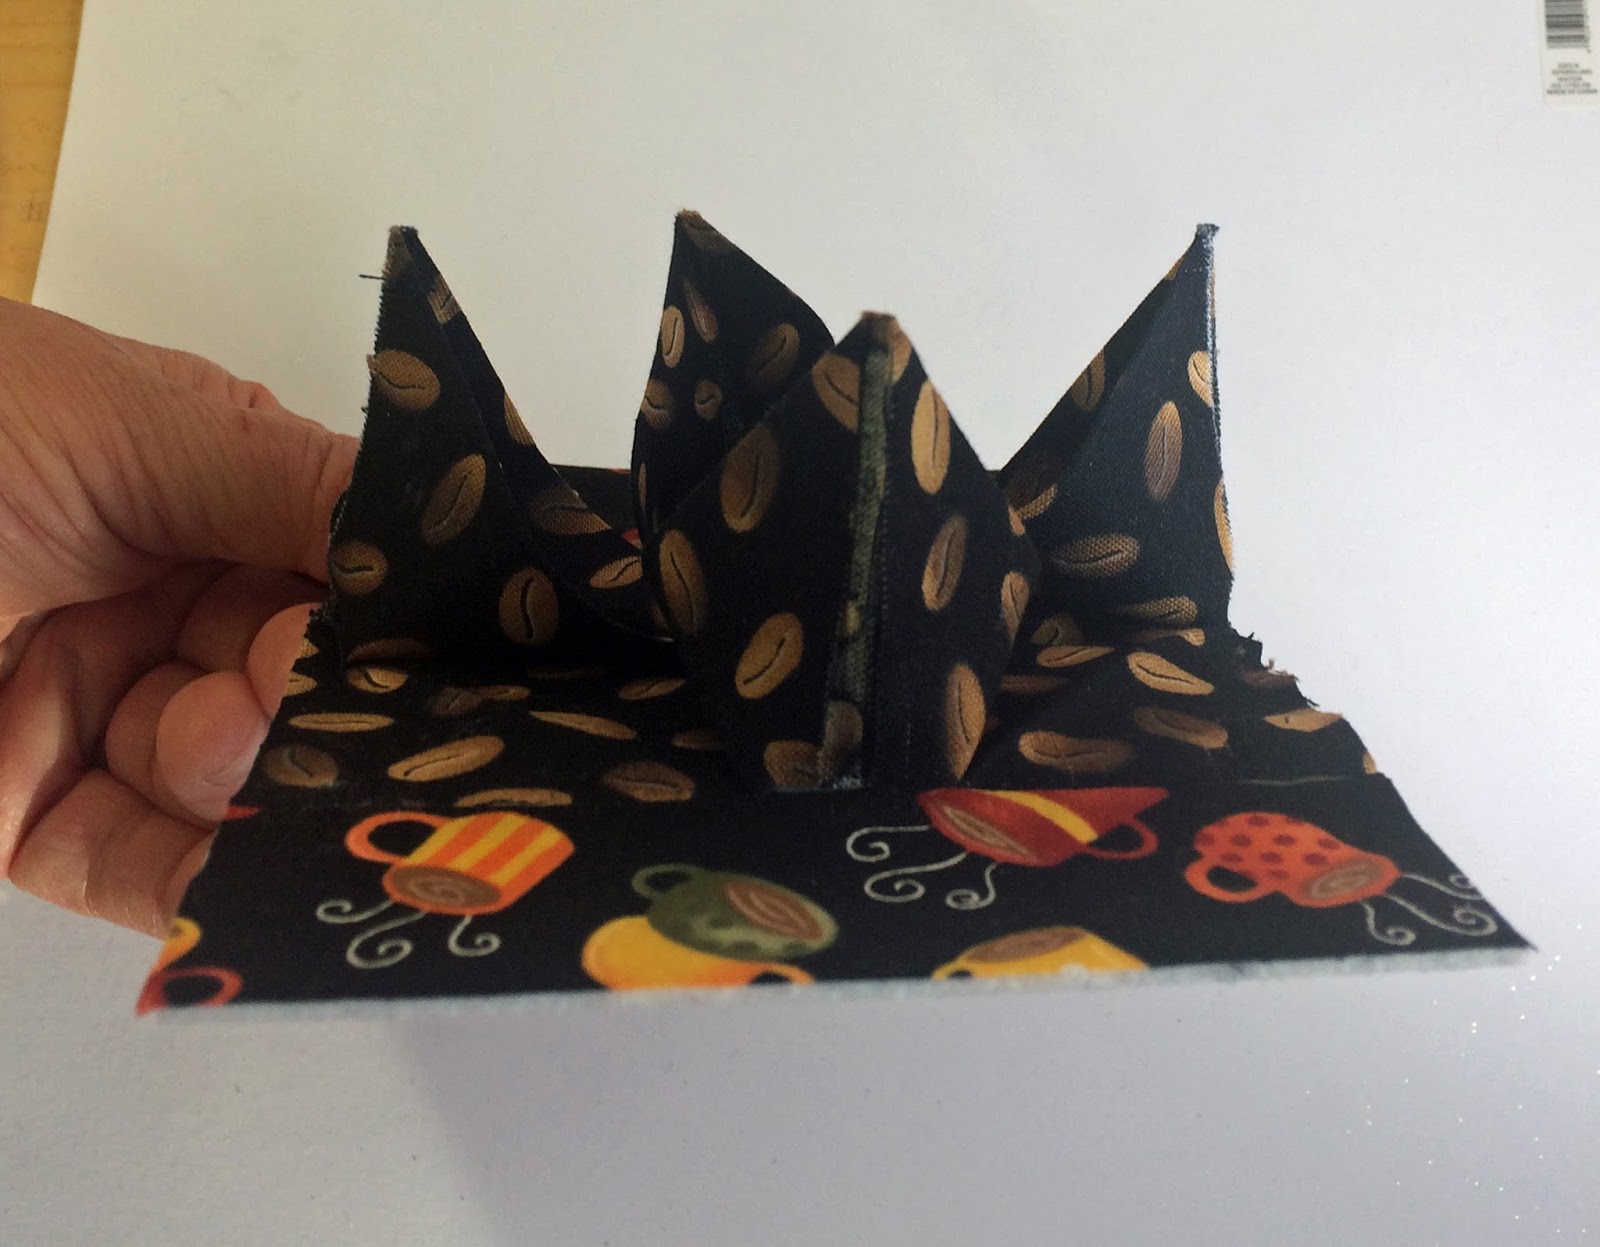
Image 4 - Side profile shows dimension


Several different flower petal styles depend on whether you: 
  • Leave the petal edges free  (see Image 2)
  • Roll the petals under and secure stitch  (see Image 6)
  • Flatten and secure into edge bindings  (see Image 1)

Rotate the folded Origami square so the petals lay either:
  • Square to the postcard edges (see Image 1)
  • Diagonal to the poscard edges (see Image 5)

Image 5 Valentine Red
Petals in the 1-5-7-11 o'clock position by rotating the
flower block and the petal tips are kept free.
Flower block centered on FPC with two rows
of grosgrain ribbon on each side of it


Image 6 Valentine Black
I rolled each petal edge under then secure stitched in place

Changes I made that differ from the video:
  • I reduced starting fabric square to 8.5" in order to yield a 4"x6" finished size
  • I fused tiny pieces of webbing inside each petal point (see image 6)
  • Sometimes I tear my squares to keep on grain, but you could use a rotary cutter

Image 7
Fuse down eight points with small
amount of fusible webbing to secure points

Construction Steps:

1. Press and make a folded flower from 8 1/2" fabric square
2. Fuse webbing inside eight petal points (4 points x 2 sides)
3. Open flaps and secure middle of flower with a sewn button
Step 1

4. Cut a 4 x 6 piece of stiff stabilizer - I use Peltex 70
5. Decide where you want your flower located on stabilizer (centered vs. top or bottom)
6. Pin it in place

Step 4 testing a square layout
Step 4 alternate diagonal layout

7. Sew flat grosgrain ribbon to hold flower in place on the stabilizer or
8. Stitch and flip coordinating fabrics to secure it to the stabilizer

Step 8 diagonal setting


Step 8 squared setting

Step 8 squared setting with flower at top position of postcard

9. Trim excess fabrics then topstitch around perimeter


Step 9 trimmed to 4"x6" before topstitching perimeter
Keep petals out of the way


10. Prepare a postcard backing and fuse it backside


Step 10

11. Decide an edging method (satin stitch, decorative stitch, binding)

Decorative Stitched Edge

Partial Binding

12. Gently shape flower petals by pushing petal upward and tips downward


Image 8
For a Coffee Themed Swap
at PostcardMailArt on Yahoo Groups
Image 9
For a Coffee Themed Swap
at PCMA


~ ~ ~ ~ ~ ~ ~ ~ ~ ~ ~ ~
Thanks for stopping by!


Another of my Blog Posts you might enjoy:

Writing on the back of your Fabric Postcards


Monday, February 8, 2016

Wrapped Edges on Fiber Postcards

Sheree McKee
February 2016
sewfabsew.blogspot.com


The majority of fiber postcards I receive, are made with an overcast stitched-edge finish.  But there are other options that include wrapping.


Lace wrapped side edges with
scallop trimmed top and bottom

Valentine 2016

A wrapped edge is a pretty easy finish for your fabric postcards.  You can use most any fabric or trim that can be folded in-half lengthwise.

It won't take you long to master this technique. You can wrap only two sides, like I did on this Valentine postcard to the left, or wrap all four edges!

FOR LENGTH, cut approximately 6+6+4+4+3 = 23" long of desired fabric or trim.

A GOOD WIDTH, is 1 1/4" wide, which results in a finished 1/2" - 5/8" wrap on the front of postcard.


Valentines made in 2013


Options for Wrapping
  1. Double-Fold Bias Tape
  2. Flat lace 
  3. Fabric strips
  4. Fold-over braids
  5. Duct Tape (yes!)


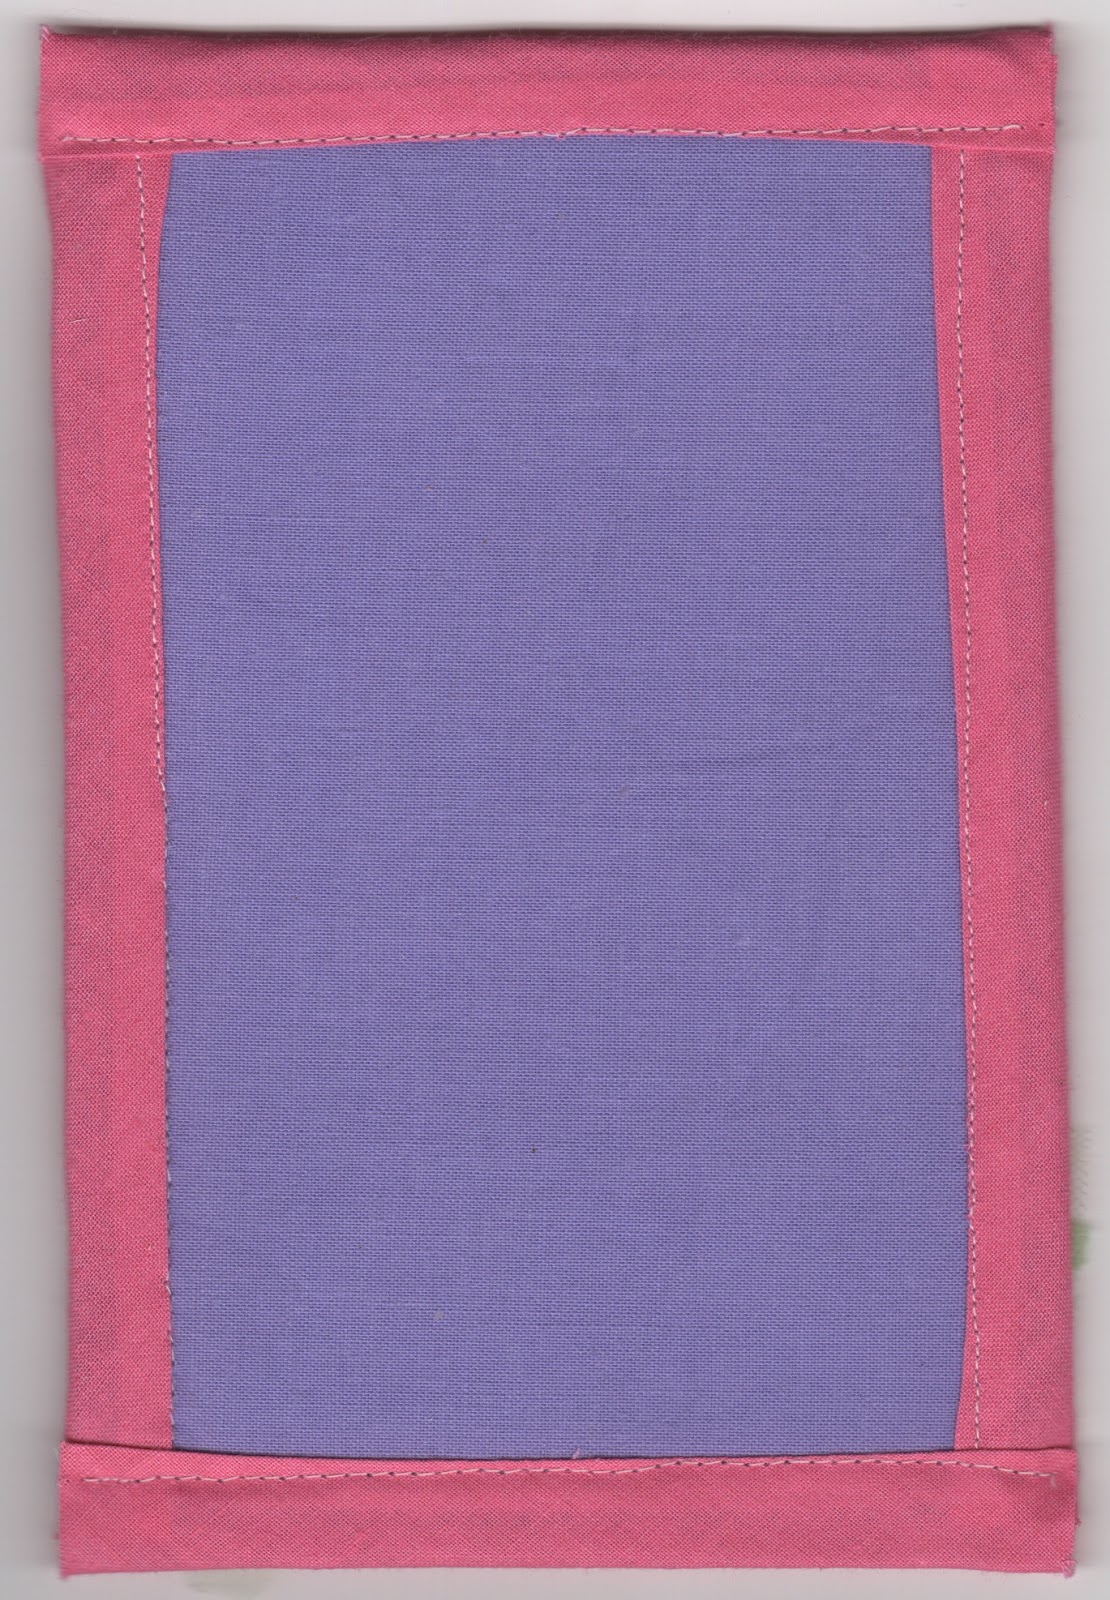
In this view of the back, I used bias tape
in four separate steps.  

This is an easy method.


Easy Method:
Don't try to turn or miter any corners, instead you will wrap and sew each straight edge separately.  Work clockwise around your postcard, but trim the wrap after each straight edge and before you continue to the next edge.  There will be raw edges at corners, but a postcard does not get very much wear and tear to worry about this.


Advanced Method:
Use a continuous wrap, plan ahead for mitering at corners and connecting at the final meeting location.  This will take longer due to the careful mitering and turning at corners.


For Variety:
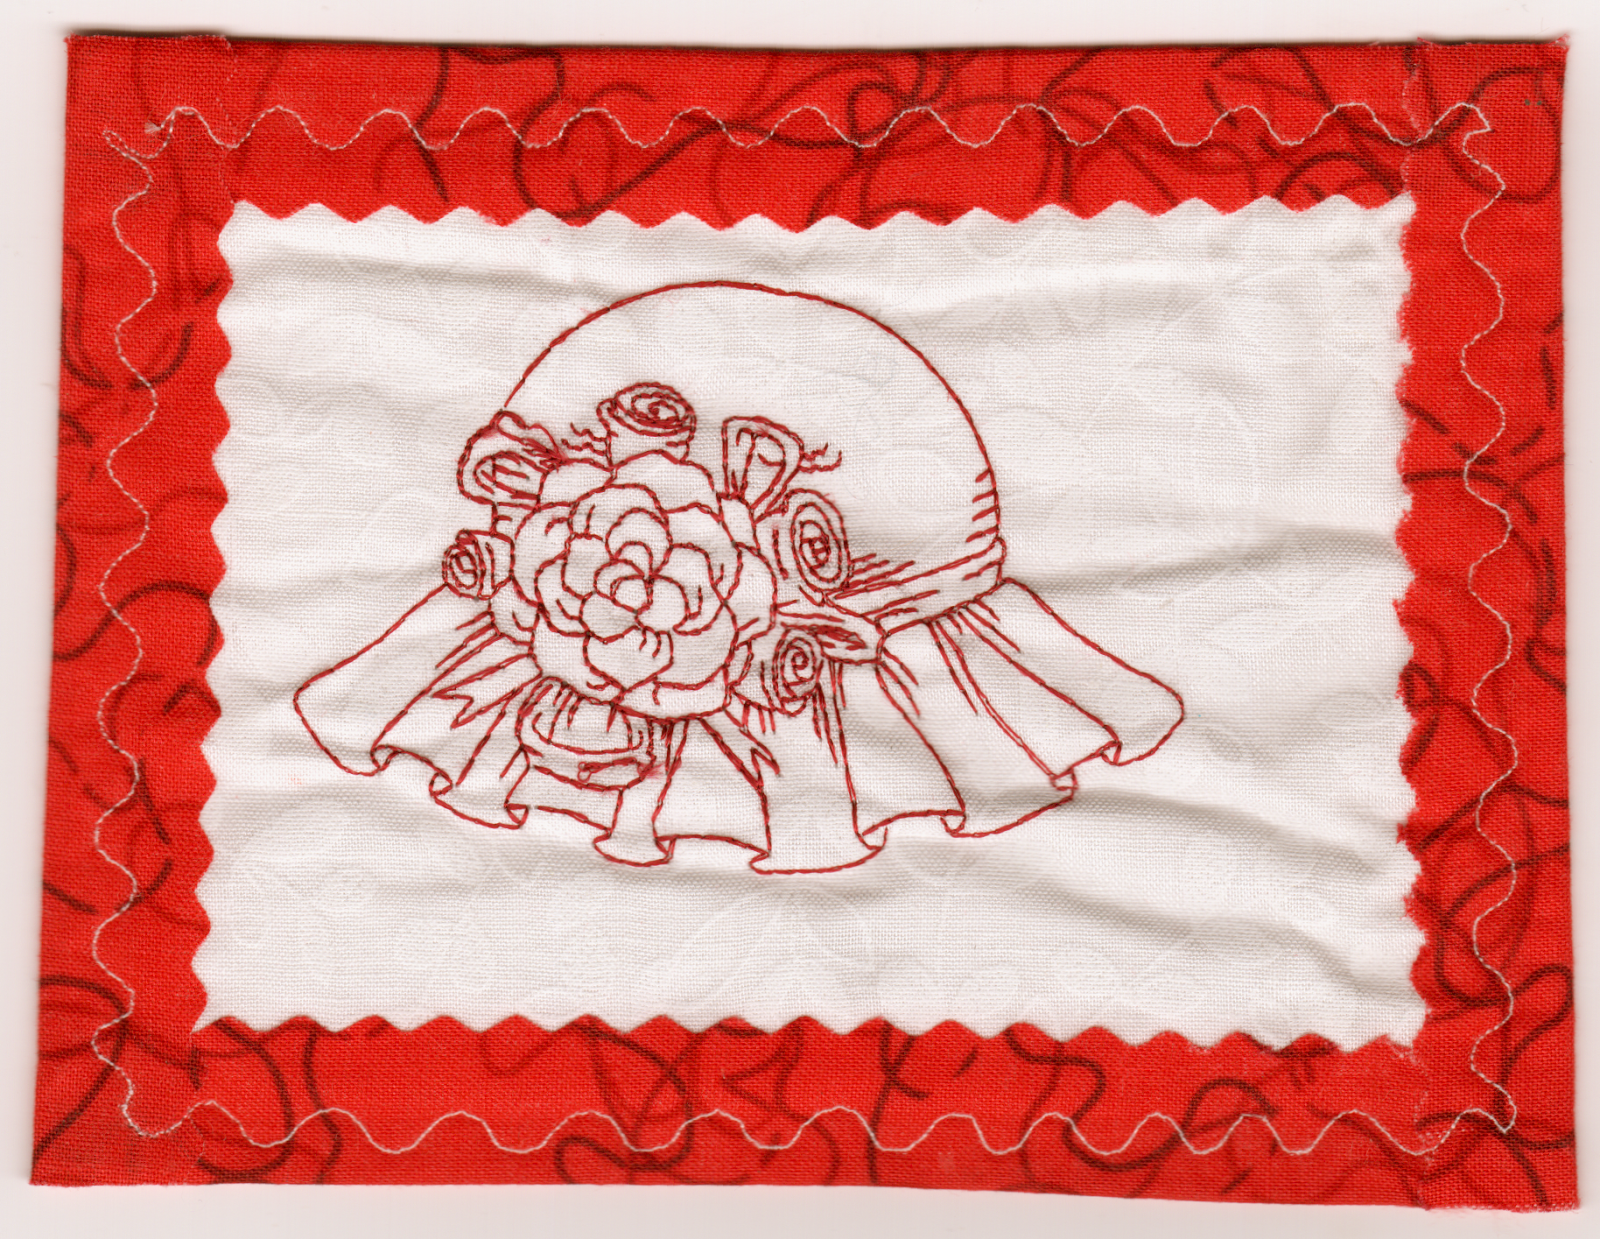
  • Cut fabric strips with scallop rotary cutter or pinking shears.
  • Layer more than one fabric color.
  • Insert rick rack for interest

Apply with:
  • Fusible webbing
  • Double-stick tape
  • Fabric glue stick
  • Then finish by stitching

Helpful Tips:
  • Cut strips after you apply fusible web
  • Leave postcard perimeter free of design elements at least 3/4" from all four edges

Lace wrap on two edges only

Scallop rotary edges, fused then stitched


A double flange method made by 
Nancy Goodman of Illinois


A pinked cut edge by Nancie Voegele of Texas


You Might like these links to my past blog articles:

Wednesday, January 21, 2015

Tea Tag Tutorial

Tea Tag for Valentines Day

Sheree McKee
January 2015
sewfabsew.blogspot.com


If you’ve successfully created a fabric postcard then 
making a “Tag” from my tutorial will be easy!

Ways you can use tags:
Embellishment on a gift
Identification for travel totes or luggage
Label a valuable item like your laptop computer, diaper bag etc.,
Tie it on a purse handle for a pop of whimsy!
As a hanging ornament or bookmark

In this tutorial, you will sew up a heart-shaped Tea Tag. 
The approximate finished size is just under 4”x6”.   
Begin by printing out the photo with a heart template below.
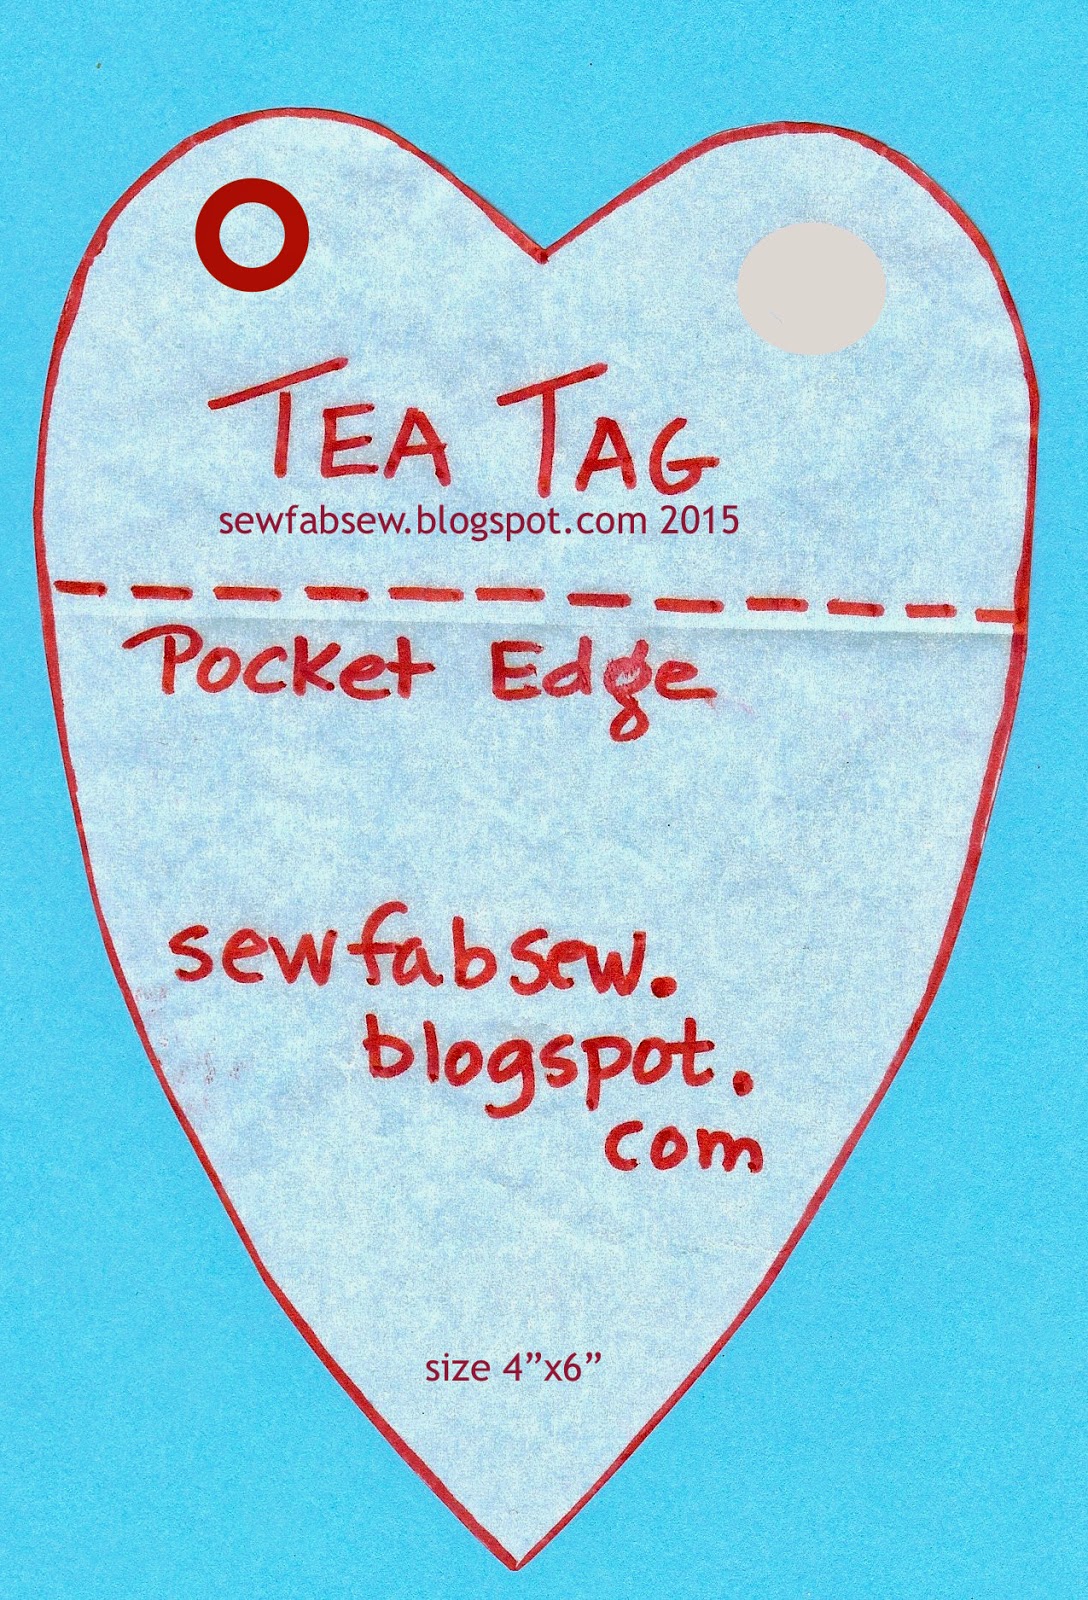

Template 4"x6"

Not only is the tag itself a useful accessory, but throw in a
few tea bags to make it a thoughtful and relaxing gift.

Gather together:
1-   Fusible Stiffener, approximate 4”x6” cut size
2-   Random fabric scraps to piece for front
3-   Fabric for back and pocket, 2 cuts 4”x6”
4-   Metal Grommet and tools… or you can substitute a buttonhole instead!
5-   Ribbons, cords, lace for tie
6-   Fusible web 4”x6”
7-   Optional pocket method:  Clear vinyl - cut larger than a business card
8-   Teflon foot or tear-away stabilizer used to sew over vinyl

Step One (front):
Piece and sew enough fabric strips and strings together,
to be larger than the template.
Press seams in one direction.
This is your heart front.  Fuse wrong sides to stiffener.
Arrange heart template diagonally across the front, pin and cut out.


Use up your scraps!

Now trimmed and fused to stiffener

Diagonal or Straight layout - your choice!


Step Two (back with pocket):
Cut 2” off the height of a single backing fabric. 
Double-fold down ½”, the top edge and topstitch two rows. 
This is your pocket top layer.
Lay pocket over the second fabric backing.  Align bottom and side edges.
Baste around four sides 1/8” from edges.


Two pieces needed to make pocket on back


Step Three:
With wrong sides together, align heart shaped front with pocket backing,
so pocket opening is about 1/3 from top.  Use fusible web between the  layers to bond together.  Cool then carefully trim heart shape a second time.  Double check to make sure pocket size can hold either a tea bag or a business card. 


Wrong sides together before fusing!


Step Four:
Finish outer edges with satin or decorative stitch of your choice.   Cut hole for grommet in upper corner, or stitch a 5/8” long buttonhole.  Tie on one or more ribbons!  Tuck a few colorful and tasteful tea bags in the pocket!


Grommet tools

Or cut a circle opening

Inserting grommet parts

Lace ties add a nice touch for Valentines Day


And here's a few luggage tags
made the same way!

Luggage tags with clear vinyl pocket

Luggage tag