Showing posts with label edges. Show all posts

Monday, February 8, 2016

Wrapped Edges on Fiber Postcards

Sheree McKee
February 2016
sewfabsew.blogspot.com


The majority of fiber postcards I receive, are made with an overcast stitched-edge finish.  But there are other options that include wrapping.


Lace wrapped side edges with
scallop trimmed top and bottom

Valentine 2016

A wrapped edge is a pretty easy finish for your fabric postcards.  You can use most any fabric or trim that can be folded in-half lengthwise.

It won't take you long to master this technique. You can wrap only two sides, like I did on this Valentine postcard to the left, or wrap all four edges!

FOR LENGTH, cut approximately 6+6+4+4+3 = 23" long of desired fabric or trim.

A GOOD WIDTH, is 1 1/4" wide, which results in a finished 1/2" - 5/8" wrap on the front of postcard.


Valentines made in 2013


Options for Wrapping
  1. Double-Fold Bias Tape
  2. Flat lace 
  3. Fabric strips
  4. Fold-over braids
  5. Duct Tape (yes!)


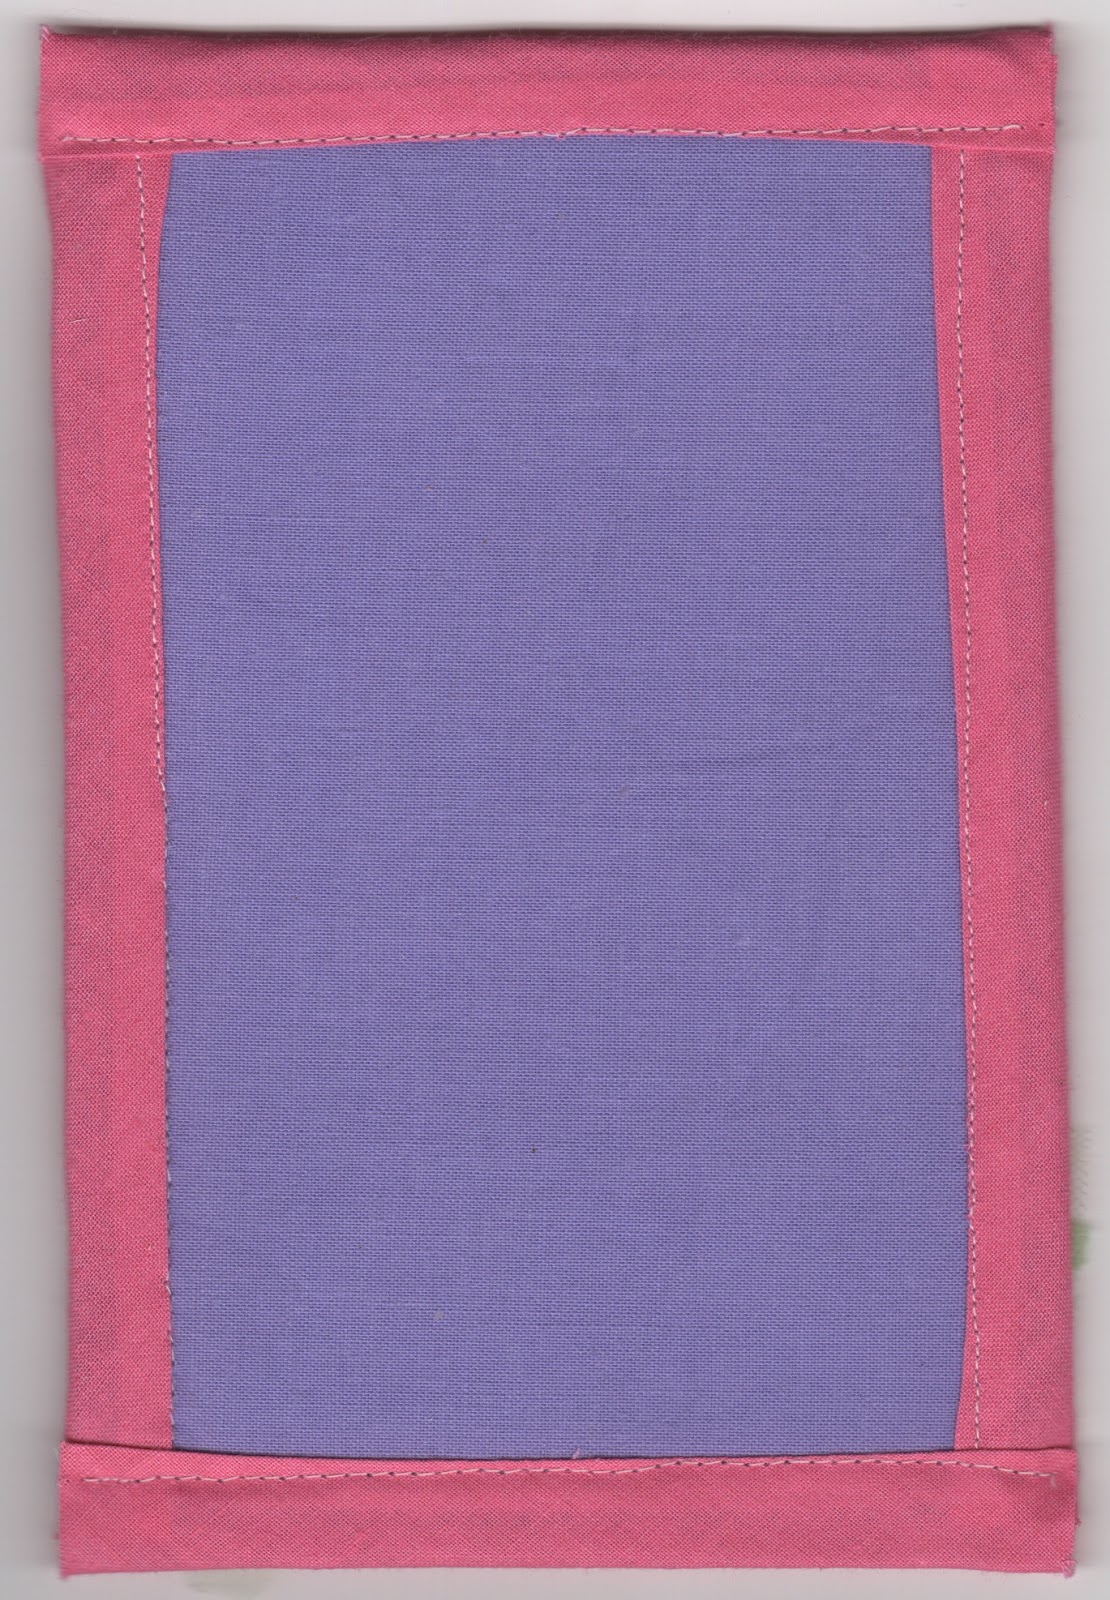
In this view of the back, I used bias tape
in four separate steps.  

This is an easy method.


Easy Method:
Don't try to turn or miter any corners, instead you will wrap and sew each straight edge separately.  Work clockwise around your postcard, but trim the wrap after each straight edge and before you continue to the next edge.  There will be raw edges at corners, but a postcard does not get very much wear and tear to worry about this.


Advanced Method:
Use a continuous wrap, plan ahead for mitering at corners and connecting at the final meeting location.  This will take longer due to the careful mitering and turning at corners.


For Variety:
  • Cut fabric strips with scallop rotary cutter or pinking shears.
  • Layer more than one fabric color.
  • Insert rick rack for interest

Apply with:
  • Fusible webbing
  • Double-stick tape
  • Fabric glue stick
  • Then finish by stitching

Helpful Tips:
  • Cut strips after you apply fusible web
  • Leave postcard perimeter free of design elements at least 3/4" from all four edges

Lace wrap on two edges only

Scallop rotary edges, fused then stitched


A double flange method made by 
Nancy Goodman of Illinois


A pinked cut edge by Nancie Voegele of Texas


You Might like these links to my past blog articles:

Thursday, December 31, 2015

Radius Shaped Corners on Fabric Postcards

December 2015
Sheree McKee
sewfabsew.blogspot.com


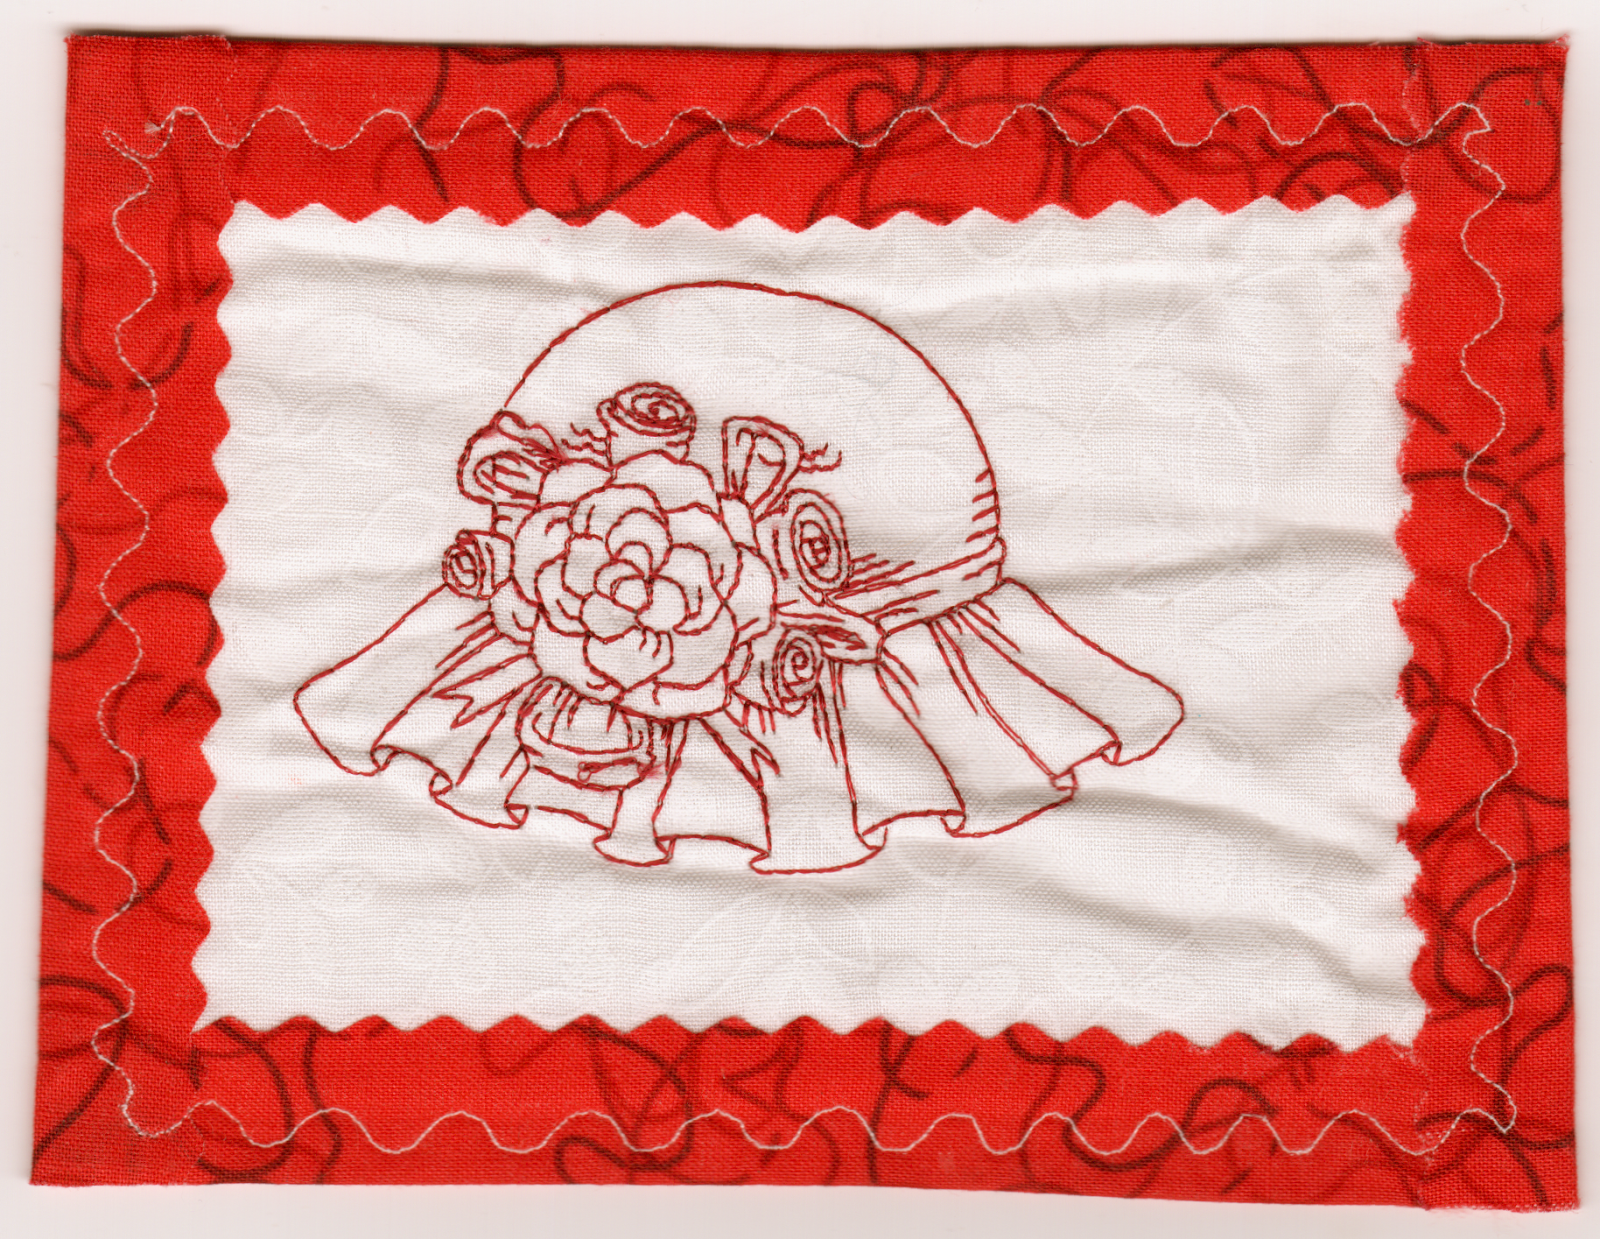
Redwork by MaryLou Curry

Who says a postcard MUST have square corners?  Well, they don't have too.   

Radius-shaped corners add a modern touch to your postcards.  This sleek shape is clean looking. The soft curves are easy to overcast and sew, and you don't need any special tools.


SIX EASY TIPS:


  1. Create your postcard as usual with all three layers:  front, filler, backing.  Take care to keep embellishments a good distance away from the four corners. 
  2. Use a small jar, cookie cutter, soda cap or any suitable object as a guide to gently mark the curved corner shapes.  
  3. Trim carefully with scissors.  
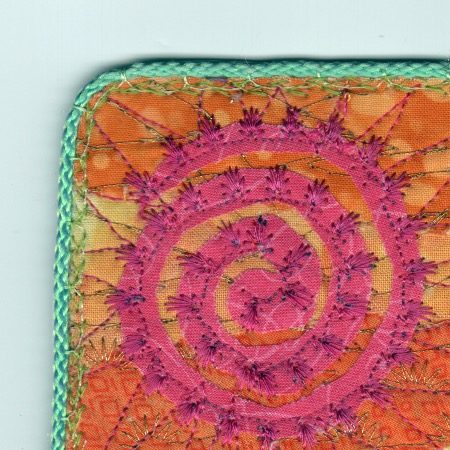
  4. Select a favorite overcast stitch, bias trim, rick rack or cording to finish the radius corners.
  5. Stitch slowly when working your way around the curved areas.  Sometimes it helps to shorten your stitch length at the most curvey corners, then return to normal stitch length on the straight sides.  When you shorten the stitch length it gives better thread coverage and prevents thread gaps.
  6. I suggest you make a sample curve when attaching any trims to the edges.  This will help you get the machine settings correct, and give you a better understanding of how those trims will behave when stitching around the radius.
Use an object to guide your radius shape

Trim curves carefully

I happen to adore the look of radius corners, but apparently many of my swapping partners do not.  

When I flipped through my collection of almost 500 swapped postcards, only one swap partner, MaryLou Curry of Toronto, Ontario Canada frequently enjoyed using this same method on some of her postcards.  Thanks MaryLou!  I have posted some of her creations for you to enjoy!

I hope you will give Radius-Shaped corners a try sometime!
metallic piping corner

bobbin work with pearl cotton

yarn used in bobbin

more piping

MaryLou Curry felted
MaryLou Curry metallic quilted

MaryLou Curry used wide satin stitch on edges

Sunday, March 9, 2014

On the EDGE (of a fabric postcard)

March 2014
Sheree McKee
sewfabsew.blogspot.com

Edges! "Just how am I going to finish the edge of my fabric postcards?"  I used to be obsessed with that question.

Many creative people are content with sewing a satin edge stitch.  But that seemed too simple to me. I always want something different.  And to be honest, I dislike sewing a satin stitch.  To me, the mundane stitch is boring, sews way too slow for me, it seems like an eternity.... watching the machine needle swing left, right, left....

In the end, I am never pleased with the results.  So I decided to experiment.  I still am experimenting to this day.  I rarely make two postcards in a row, identical.  They might have similar top layers, but often the perimeter will be different on all of them.  That's because when I sew one, I get an idea for another way to to tweak the next edge experiment.

I even change my postcard backs.  Sometimes I use fabric, often I use card stock.  This also adds some spice to my creations.

Here are a few ways I've completed fabric postcard edges.  I will continue to update and add to these photos.  Please come back again.

ShereeSews in Michigan
~~~~~~~~~~~~~~~~~~~


baby rick rack

knotted cords

fused green binding, couched red cording
binding wrap

bobbin work decor stitch
textured yarn edge

decor stitch

overcasted metallic cording


scallop cardstock back

overcast medium cording


ribbon work & pearls overlay

medium rick rack on top

large rick rack behind

all layers scallop cut

scallop top, over card stock back
overcast cording
couched nubby yarns


sequin strand overlay - hand sewn with whip stitch