Sheree McKee
sewfabsew.blogspot.com
 |
| Redwork by MaryLou Curry |
Who says a postcard MUST have square corners? Well, they don't have too.
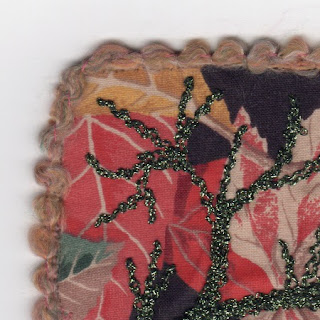
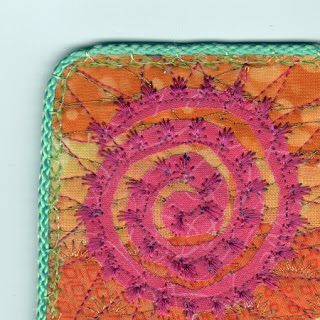
Radius-shaped corners add a modern touch to your postcards. This sleek shape is clean looking. The soft curves are easy to overcast and sew, and you don't need any special tools.
SIX EASY TIPS:
- Create your postcard as usual with all three layers: front, filler, backing. Take care to keep embellishments a good distance away from the four corners.
- Use a small jar, cookie cutter, soda cap or any suitable object as a guide to gently mark the curved corner shapes.
- Trim carefully with scissors.
- Select a favorite overcast stitch, bias trim, rick rack or cording to finish the radius corners.
- Stitch slowly when working your way around the curved areas. Sometimes it helps to shorten your stitch length at the most curvey corners, then return to normal stitch length on the straight sides. When you shorten the stitch length it gives better thread coverage and prevents thread gaps.
- I suggest you make a sample curve when attaching any trims to the edges. This will help you get the machine settings correct, and give you a better understanding of how those trims will behave when stitching around the radius.
 |
| Use an object to guide your radius shape |
 |
| Trim curves carefully |
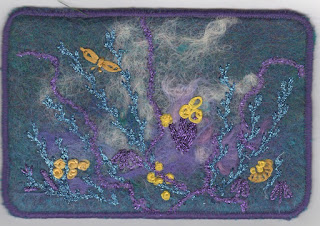
When I flipped through my collection of almost 500 swapped postcards, only one swap partner, MaryLou Curry of Toronto, Ontario Canada frequently enjoyed using this same method on some of her postcards. Thanks MaryLou! I have posted some of her creations for you to enjoy!
I hope you will give Radius-Shaped corners a try sometime!
 |
| metallic piping corner |
 |
| bobbin work with pearl cotton |
 |
| yarn used in bobbin |
 |
| more piping |
 |
| MaryLou Curry felted |
 |
| MaryLou Curry metallic quilted |
 |
| MaryLou Curry used wide satin stitch on edges |
No comments:
Post a Comment