Tea Tag for Valentines Day
Sheree McKeeJanuary 2015
sewfabsew.blogspot.com
If you’ve successfully created a fabric postcard then
making a “Tag” from my tutorial will be easy!
Ways you can use tags:
Embellishment
on a gift
Identification
for travel totes or luggage
Label
a valuable item like your laptop computer, diaper bag etc.,
Tie
it on a purse handle for a pop of whimsy!
As
a hanging ornament or bookmark
In
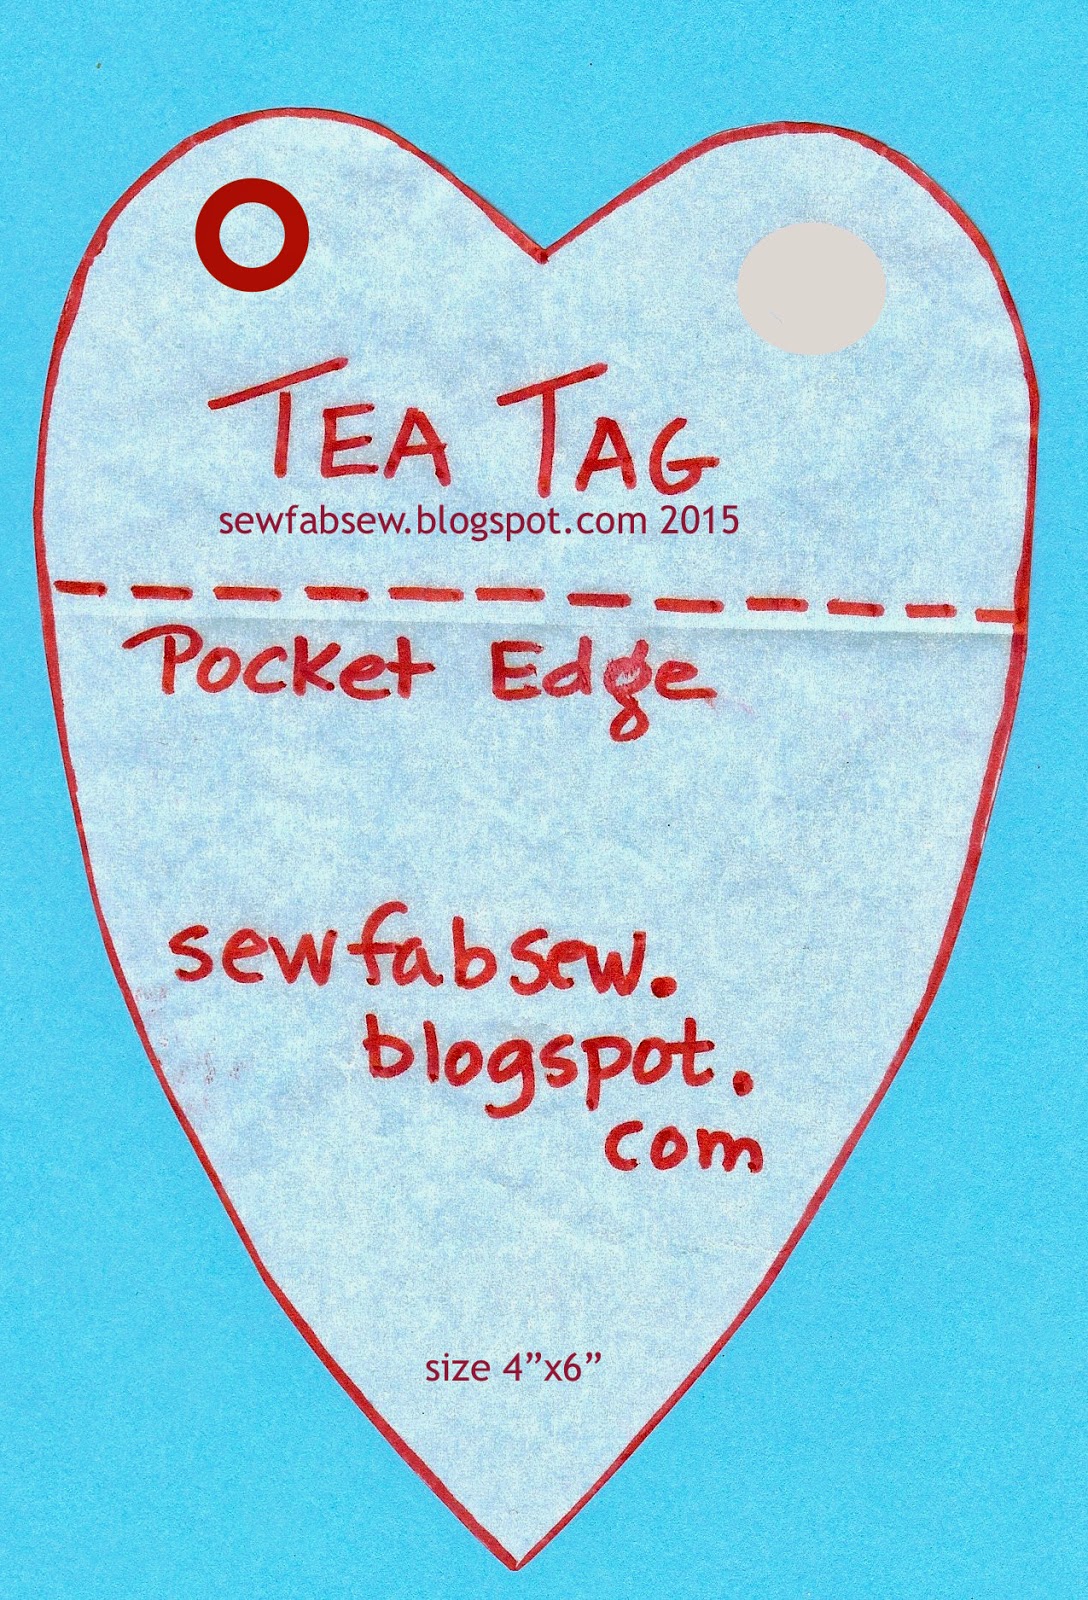
this tutorial, you will sew up a heart-shaped Tea Tag.
The
approximate finished size is just under 4”x6”.
Not
only is the tag itself a useful accessory, but throw in a
few
tea bags to make it a thoughtful and relaxing gift.
Gather
together:
1- Fusible Stiffener,
approximate 4”x6” cut size
2- Random fabric scraps to
piece for front
3- Fabric for back and pocket,
2 cuts 4”x6”
4- Metal Grommet and tools… or
you can substitute a buttonhole instead!
5- Ribbons, cords, lace for
tie
6- Fusible web 4”x6”
7- Optional pocket
method: Clear vinyl - cut larger than a
business card
8- Teflon foot or tear-away
stabilizer used to sew over vinyl
Step One (front):
Piece
and sew enough fabric strips and strings together,
to
be larger than the template.
Press
seams in one direction.
This
is your heart front. Fuse wrong sides to
stiffener.
Arrange
heart template diagonally across the front, pin and cut out.
 |
| Use up your scraps! |
 |
| Now trimmed and fused to stiffener |
 |
| Diagonal or Straight layout - your choice! |
Step Two (back with pocket):
Cut
2” off the height of a single backing fabric.
Double-fold
down ½”, the top edge and topstitch two rows.
This
is your pocket top layer.
Lay
pocket over the second fabric backing.
Align bottom and side edges.
Step Three:
With
wrong sides together, align heart shaped front with pocket backing,
so pocket opening is about
1/3 from top. Use fusible web between
the layers to bond
together. Cool then carefully trim heart
shape a second time. Double
check to make sure pocket size can hold either a tea bag or a business
card.
Step Four:
Finish
outer edges with satin or decorative stitch of your choice. Cut hole for grommet in upper corner, or
stitch a 5/8” long buttonhole. Tie on
one or more ribbons! Tuck a few colorful
and tasteful tea bags in the pocket!
 |
| Grommet tools |
 |
| Or cut a circle opening |
 |
| Inserting grommet parts |
 |
| Lace ties add a nice touch for Valentines Day |
And here's a few luggage tags
made the same way!
 |
| Luggage tags with clear vinyl pocket |
 |
| Luggage tag |


No comments:
Post a Comment