Friday, November 25, 2016

October Lottery of Fabric Postcards

November 2016
Sheree McKee
sewfabsew.blogspot.com
SewFabSew@aol.com

I WON the lottery in October... a fiber postcard lottery that is!  But this lottery makes me just as happy as any $$$ could.  For the last 3 weeks, nearly a dozen surprise postcards have been arriving at my home in Michigan.

My FAV swap group holds a monthly FPC (fabric postcard) lottery.  Anything goes!  Your theme, your subject, your experiments!  PostCardMailArt is a Yahoo Group with 80+ swapping members.

Here's what arrived ~


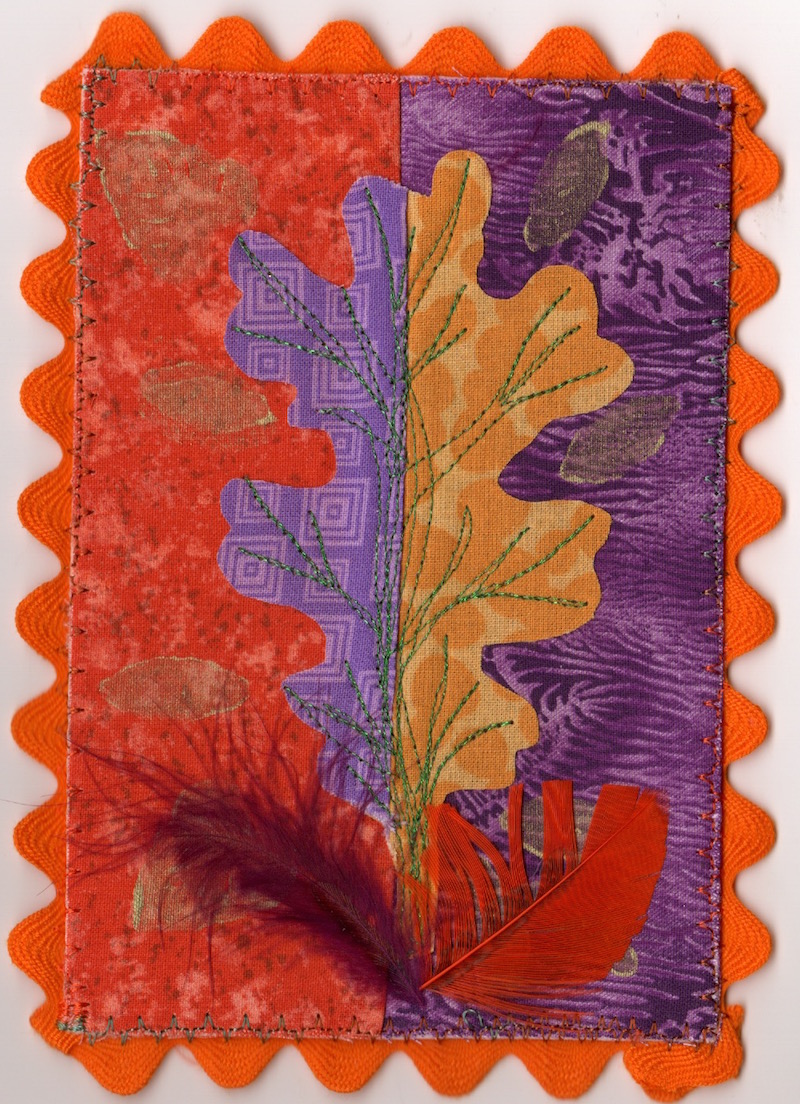
Alesia in Tennessee
My FAV colors of purple and orange!
Barbara in Maryland
Recycled selvedges from fabric yardage
turned into hexagon quilt shapes
Beverly in Georgia
Inserted a Frankie motif from a Halloween fabric
 
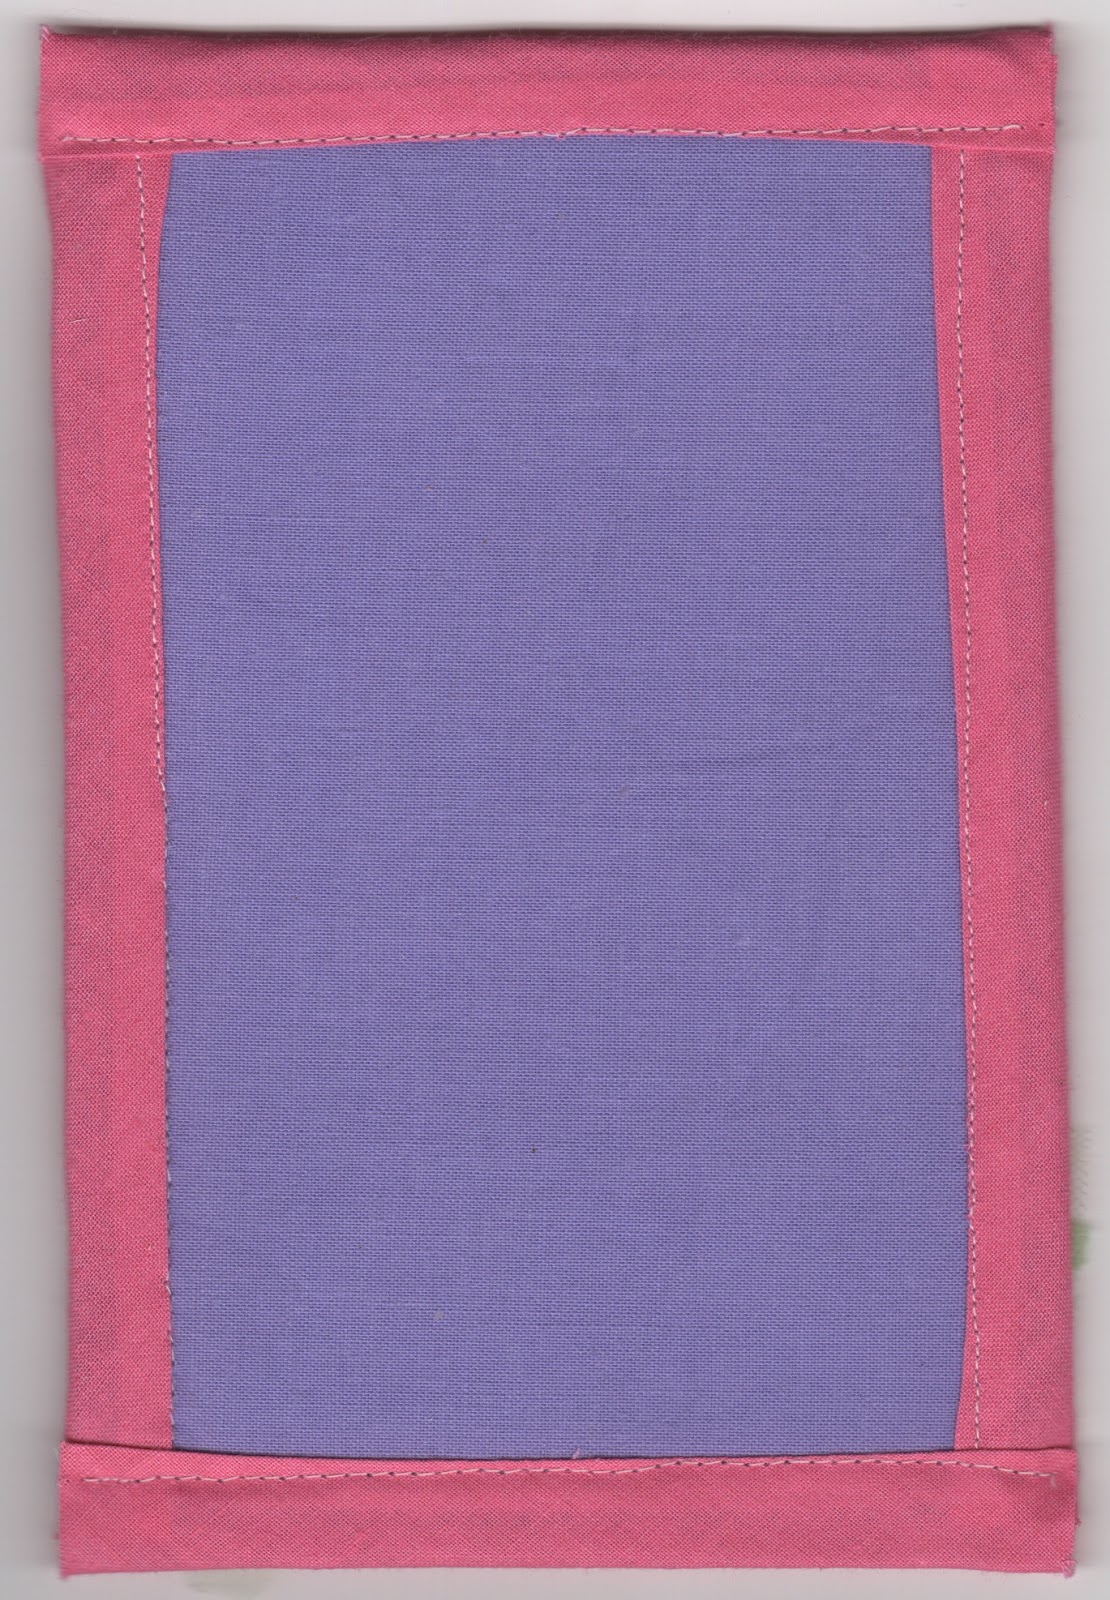
Sheree McKee in Michigan
I used up my seasonal ribbons and trims,
but since I was the winner for October
this was moved into the following months lottery
Sue Balchak in California
Glow in Dark fabrics and threads really do glow!
Judy in B.C. Canada
Pieced triangles and sequin pumpkins
Regina in Ohio
Sparkly fabric, layered leaves, buttons and bugle beads
Norma in Florida
She actually tied real acorns on with twine!
Note: this costs extra to mail, due to thickness of envelope
Kayenderes in New York
The cutest dimensional skeleton and Boo ribbon. Another
style that takes extra postage due to special handling
Christine in Victoria, Australia
Adorable symbols of New Zealand and Australia
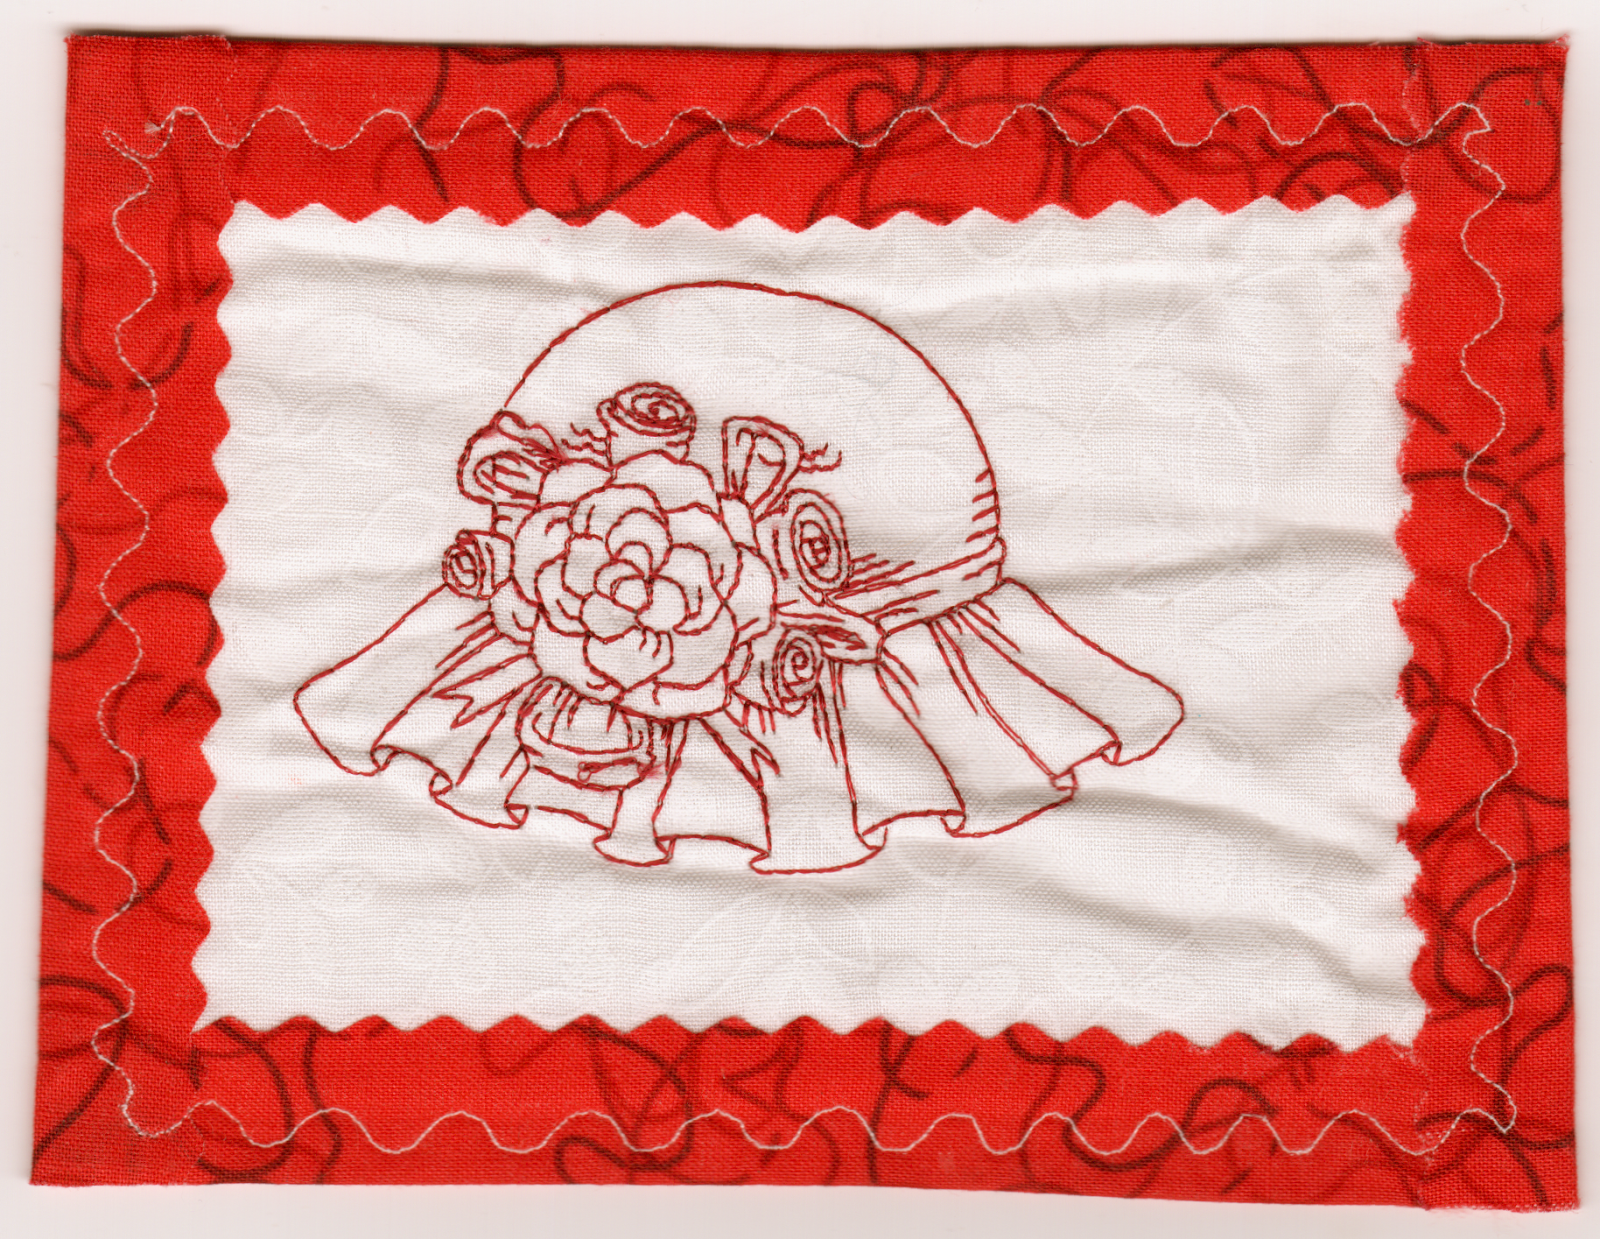
MaryLou in Ontario, Canada
Black sheep landscape with crewel embroidery

Check-out the PostCardMailArt group by joining and watching how the swaps work.  There are many active members who will help you out with swapping protocol.  Join the discussions, and ask questions about swapping responsibility.

Owner and Moderator, Sue Balchak from California, formed the group in fall of 2008.  And I've been an active member for about four years.

Subscribe by contacting
postcardmailart-subscribe@yahoogroups.com

Another previous blog post of mine ~
Puffy Pumpkins

Monday, October 17, 2016

Two-Color Oak Leaves for Fall

October 2016
Sheree McKe
sewfabsew.blogspot.com

I used a metallic green thread to sew the leaf veins on #1

Supplies: Four colors of cotton fabric, fusible web, fusible stabilizer, metallic or variegated thread, large rick-rack, feathers (optional embellishment)

We recently had a challenge titled "Fav Two Colors" at my Postcard MailArt group.  I am attracted to contrasting colors, so purple and orange are one of my favorite combinations.

Since it is fall here in Michigan, I decided to use an Oak Leaf theme.  The leaf template provided is 3.5" x 5' to fit on a 4x6" postcard.  Click on image to download it.


TEAR 3" crosswise strips of four cotton fabrics.  I used a dark and light purple and a dark and light orange.  If you use a full crosswise tear of fabric, you will have enough to make three postcards.

STITCH the lights together with 1/4" seam, and stitch the darks together, press seam to one side.


PREPARE (one to three) front postcard bases, by fusing the dark strip combination to stabilizer (center of postcard sandwich).  I trim these down to 4x6" at a later point.

TRACE oak leaf onto right side of paper-backed fusible web.  FUSE the leaf image to wrong side of strip and directly down center seam.  Use which ever color combination of strips you desire.  I used the light tones for my leaves and the dark tones for my backgrounds.


Fused to wrong side of light fabric combination


CAREFULLY FUSSY CUT the oak image and tear-off the paper backing. CENTER the two-tone oak motif directly over the center seam of your prepared front.  PLAN AHEAD so you can alternate the light side of leaf on top of dark background.


EMBELLISH your leaf with stitched veins.  I used metallic threads on two of them, then switched to a variegated thread.

I also used a small rubber stamp to apply some metallic leaf images, but I did not like the end results.

Copper metallic veins on #2 but this delicate thread
kept breaking and causing trouble

Variegated stitching on #3 was much stronger thread

FINISH BACK by fusing a backing fabric.  Here's a tip, you can use the right or wrong side of fabric.  Beware of too dark of backing fabrics as it is hard to read the text writing.

Wrong side of fabric on left, gives a better writing surface

FINAL STEP apply large rick rack to perimeter edges.  I sew from front side of postcard, aligning rick rack hills and valleys where I desire.  I used a multi zig zag stitch to bridge the trim and postcard together.

LAST - I couldn't resist apply a few small feathers with fabric glue for a little fluff!

~ ~ ~ ~ ~ ~ ~ ~ ~ ~ ~ ~ ~ 

Links to more of my Fall Themed Fabric Postcard Ideas:


Saturday, March 5, 2016

Matchstick Quilting a Fiber Postcard

March 2016
Sheree McKee
sewfabsew.blogspot.com
Matchstick quilting runs horizontally here


Matchstick quilting is just another name for dense straight line quilting.  

The narrow gaps between each row of stitching, mimic thin matchsticks.

It is an simple technique to try on your fabric postcards.  I suggest you practice with samples before you make your primary postcard.  You might need to adjust your machine tension settings.


Fusible batting
Some Experiments to Test:

  • Different thread colors or variegated shadings
  • Vary thread thickness or weights such as fine rayon embroidery threads, or thicker metallics
  • Space variances between your stitching lines 
  • Decorative machine stitches, with narrowed width settings
  • Mix machine and hand-stitched matchstick lines
  • Mark a motif in erasable pencil, such as heart, shamrock, monogram lettering, then avoid stitching through this shape.  It will "pop" like trapunto. See Matchstick Feathers link below.


Some Tips:
This made two postcards

  • Dense matchstick stitching can make your fabric layers feel a bit stiff
  • Lots of stitching can also thin out your layers 
  • Layer a top fabric, thin filler, or optional backing to make a sandwich
  • I like to use fusible batting applied to only my top fabric, and no backing (image 2)
  • Make your quilted matchstick layer a bit larger than a postcard (approximately 6" x 8") then trim it down to postcard size (4" x 6").
  • Mark a center straight line, and use it as a guide for straight stitching
  • Or use more organic, freeform stitching lines with soft waves, much like tree bark.
  • I do not use an even feed foot, but I stitch all lines in one direction, top to bottom


Learn More:

Sulky has a nice tutorial HERE

Matchstick Feathers HERE by 13 Spools website

Matchstick Experiment by BuzzinBumble HERE

Sewing thread types HERE by Sewing Mantra website


I found some pre-cut felt shamrocks for embellishment


March 2016 ~ Sheree McKee ~ sewfabsew.blogspot.com


Friday, February 26, 2016

Sew a Prayer Flag

February 2016
Sheree McKee
sewfabsew.blogspot.com

A prayer flag, sometimes also known as a peace flag, symbolizes community, caring, positivity and goodwill.  

In many cultures, they hang outdoors in the wind, intentionally allowed to weather and wear down to threads. The winds are believed to send the prayers and positive thoughts throughout the world.  The remaining threads then fall downward and return to mother earth.

Prayer Flags aren't difficult to design and sew.  They are relatively quick sewing projects.   Commonly, they are quite small, but they can be created in any size or shape.  The ones I have been swapping are approximately 5" wide and 8" tall, just a little bit bigger than a fabric postcard.
Blessings by Sheree McKee 
of Michigan

Blessings by Susan Brandli 
of Virginia

Our PostCardMailArt swap community (a Yahoo Group)  has offered several modern Prayer Flag sign-up opportunities this past year.  We have kept ours rectangular in shape for these swaps.

I believe a lot of my creative friends will intend to hang these modern versions indoors, or give as thoughtful gifts.  They can be hung on a wall, a fireplace mantle, as a window valance, or draped across a doorway.


There are  few styles I am attracted too.  I adore those using vintage linens and torn edge fabrics.


Our Swap Guidelines:
  • Finished size 5" wide by 8" tall
  • Must have a 1 1/2" open casing at top for stringing on a ribbon, cord, or rope.
  • Made from fabric
  • Embellished in a variety of textile methods
Joy by Sheree McKee 
of Michigan


Joy by Joan Lane
of Florida


 Themes ~ anything 
you can pray for:
Blessings, Bloom, 
Compassion, Courage, 
Dreams, Energy, 
Faith, Friendship, 
Forgiveness, Growth, 
Health,  Healing, 
Love, Nature, 
Peace, Sunshine, 
Wisdom....


Here are some wonderful websites 
and blogs to get you started 
on your first Prayer Flag:


Sunshine by Sheree McKee
of Michigan
backside


Sunshine by Sue Balchak 
of California


February 2016
Sheree McKee
sewfabsew.blogspot.com
~~~~~~~~~~~~~~~~~~~~~~~~~~~~~~~~~~~~~~~~~~~~~~~~~~~~~~~~~~~~~~~
You might enjoy this link to my previous blog about


Monday, February 8, 2016

Wrapped Edges on Fiber Postcards

Sheree McKee
February 2016
sewfabsew.blogspot.com


The majority of fiber postcards I receive, are made with an overcast stitched-edge finish.  But there are other options that include wrapping.


Lace wrapped side edges with
scallop trimmed top and bottom

Valentine 2016

A wrapped edge is a pretty easy finish for your fabric postcards.  You can use most any fabric or trim that can be folded in-half lengthwise.

It won't take you long to master this technique. You can wrap only two sides, like I did on this Valentine postcard to the left, or wrap all four edges!

FOR LENGTH, cut approximately 6+6+4+4+3 = 23" long of desired fabric or trim.

A GOOD WIDTH, is 1 1/4" wide, which results in a finished 1/2" - 5/8" wrap on the front of postcard.


Valentines made in 2013


Options for Wrapping
  1. Double-Fold Bias Tape
  2. Flat lace 
  3. Fabric strips
  4. Fold-over braids
  5. Duct Tape (yes!)


In this view of the back, I used bias tape
in four separate steps.  

This is an easy method.


Easy Method:
Don't try to turn or miter any corners, instead you will wrap and sew each straight edge separately.  Work clockwise around your postcard, but trim the wrap after each straight edge and before you continue to the next edge.  There will be raw edges at corners, but a postcard does not get very much wear and tear to worry about this.


Advanced Method:
Use a continuous wrap, plan ahead for mitering at corners and connecting at the final meeting location.  This will take longer due to the careful mitering and turning at corners.


For Variety:
  • Cut fabric strips with scallop rotary cutter or pinking shears.
  • Layer more than one fabric color.
  • Insert rick rack for interest

Apply with:
  • Fusible webbing
  • Double-stick tape
  • Fabric glue stick
  • Then finish by stitching

Helpful Tips:
  • Cut strips after you apply fusible web
  • Leave postcard perimeter free of design elements at least 3/4" from all four edges

Lace wrap on two edges only

Scallop rotary edges, fused then stitched


A double flange method made by 
Nancy Goodman of Illinois


A pinked cut edge by Nancie Voegele of Texas


You Might like these links to my past blog articles: