Sheree McKee
sewfabsew.blogspot.com
A prayer flag, sometimes also known as a peace flag, symbolizes community, caring, positivity and goodwill.
In many cultures, they hang outdoors in the wind, intentionally allowed to weather and wear down to threads. The winds are believed to send the prayers and positive thoughts throughout the world. The remaining threads then fall downward and return to mother earth.
Prayer Flags aren't difficult to design and sew. They are relatively quick sewing projects. Commonly, they are quite small, but they can be created in any size or shape. The ones I have been swapping are approximately 5" wide and 8" tall, just a little bit bigger than a fabric postcard.
 |
| Blessings by Sheree McKee of Michigan |
 |
| Blessings by Susan Brandli of Virginia |
I believe a lot of my creative friends will intend to hang these modern versions indoors, or give as thoughtful gifts. They can be hung on a wall, a fireplace mantle, as a window valance, or draped across a doorway.
There are few styles I am attracted too. I adore those using vintage linens and torn edge fabrics.
Our Swap Guidelines:
- Finished size 5" wide by 8" tall
- Must have a 1 1/2" open casing at top for stringing on a ribbon, cord, or rope.
- Made from fabric
- Embellished in a variety of textile methods
 |
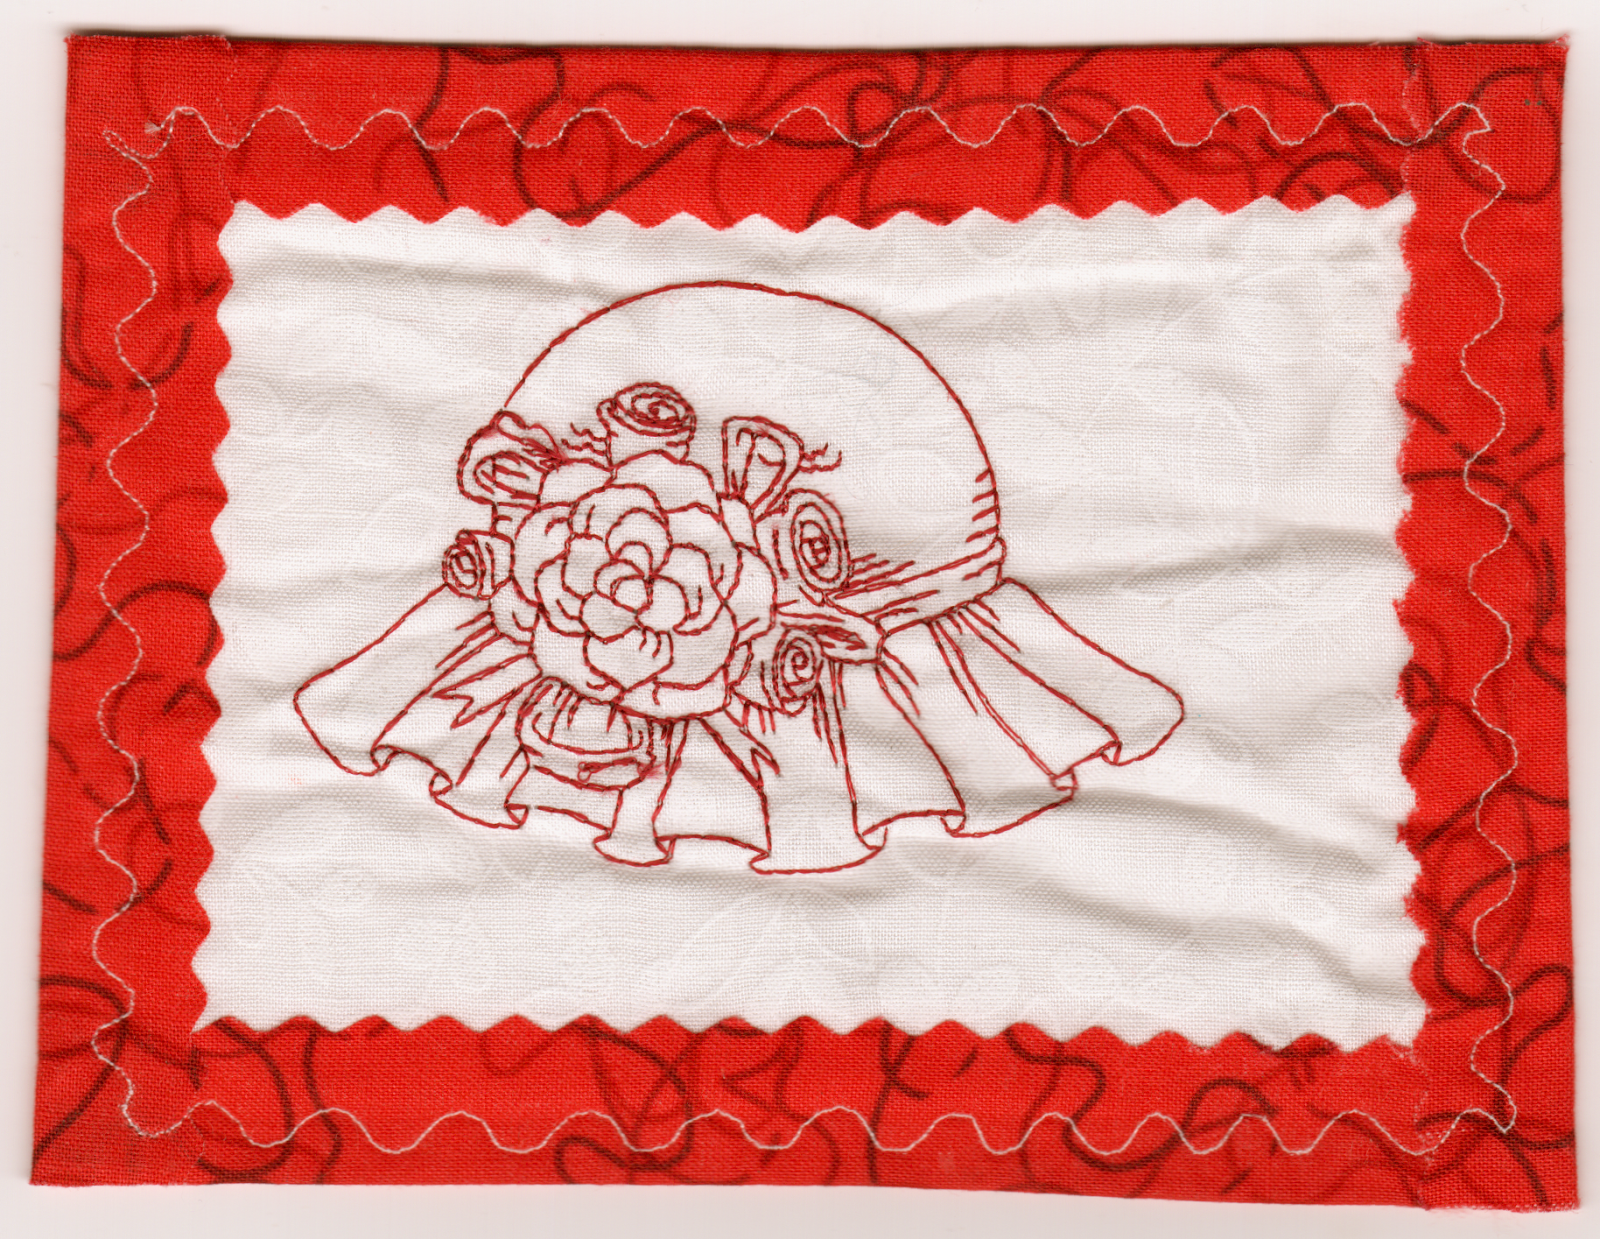
| Joy by Sheree McKee of Michigan |
 |
| Joy by Joan Lane of Florida |
Themes ~ anything
you can pray for:
Blessings, Bloom,
Compassion, Courage,
Dreams, Energy,
Faith, Friendship,
Forgiveness, Growth,
Health, Healing,
Love, Nature,
Peace, Sunshine,
Wisdom....
Here are some wonderful websites
and blogs to get you started
on your first Prayer Flag:
- Raising the Flags of Love by Carrie Bloomston in Amy Butler's Blossom #3 magazine
- The Prayer Flag Project by Vivika DeNegre
- Making Prayer Flags by Michele Bilyeu
- Prayer Flags e-Book by Quilting Arts an Interweave publication
- Sewing Prayer Flag Boards on Pinterest
- Prayer Flag Blog Hop by Meg Cox
- Wikipedia
 |
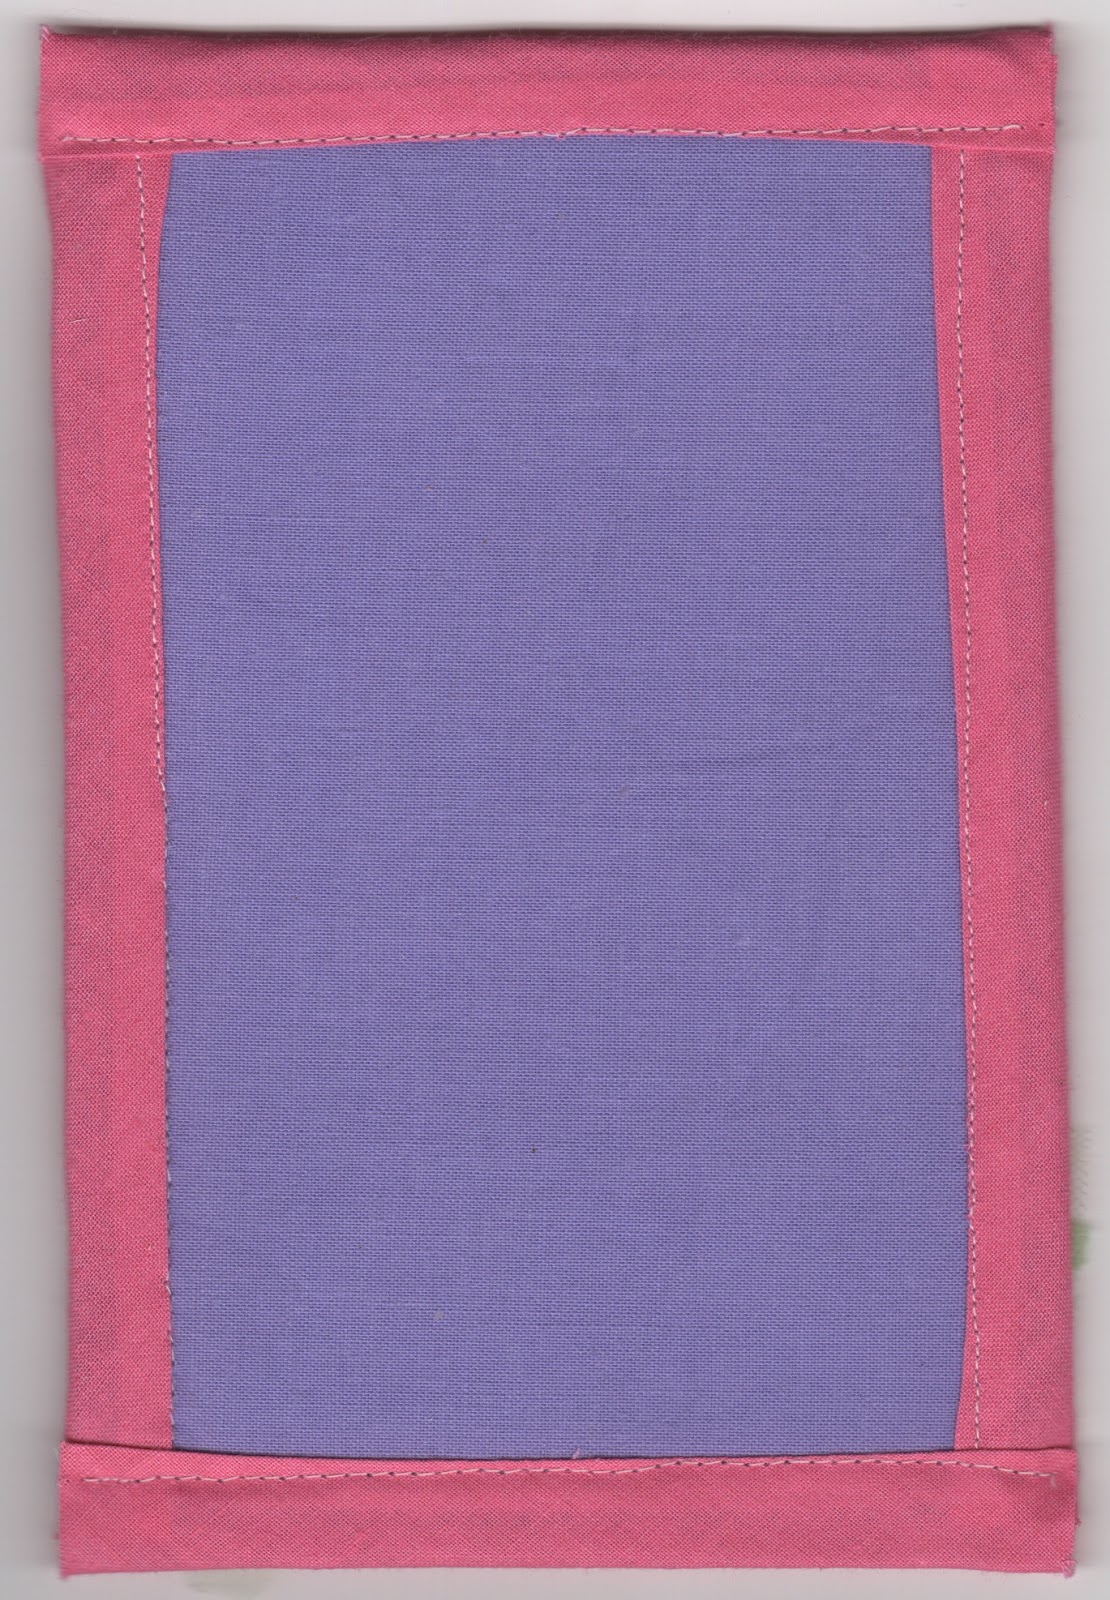
| Sunshine by Sheree McKee of Michigan |
 |
| backside |
 |
| Sunshine by Sue Balchak of California |
February 2016
Sheree McKee
sewfabsew.blogspot.com
~~~~~~~~~~~~~~~~~~~~~~~~~~~~~~~~~~~~~~~~~~~~~~~~~~~~~~~~~~~~~~~
You might enjoy this link to my previous blog about


