 |
| Postcard - metallic bird on branch by Sheree McKee |
Sheree McKee
sewfabsew.blogspot.com
 |
| stencil with holes practice |
The idea is to use a soft gelatin plate as a base,
apply acrylic paints with a roller brayer, then
take tools-masks-stencils to add texture or relief.
Finally, you will press fabric or paper onto the
plate to pick up some unique mono prints!
Layering colors and texture results in surface art
that is perfect for embellishing your fabric postcards.
I made quite a mess with my first attempts.
I am not an artist, so I wasn't quite prepared
 |
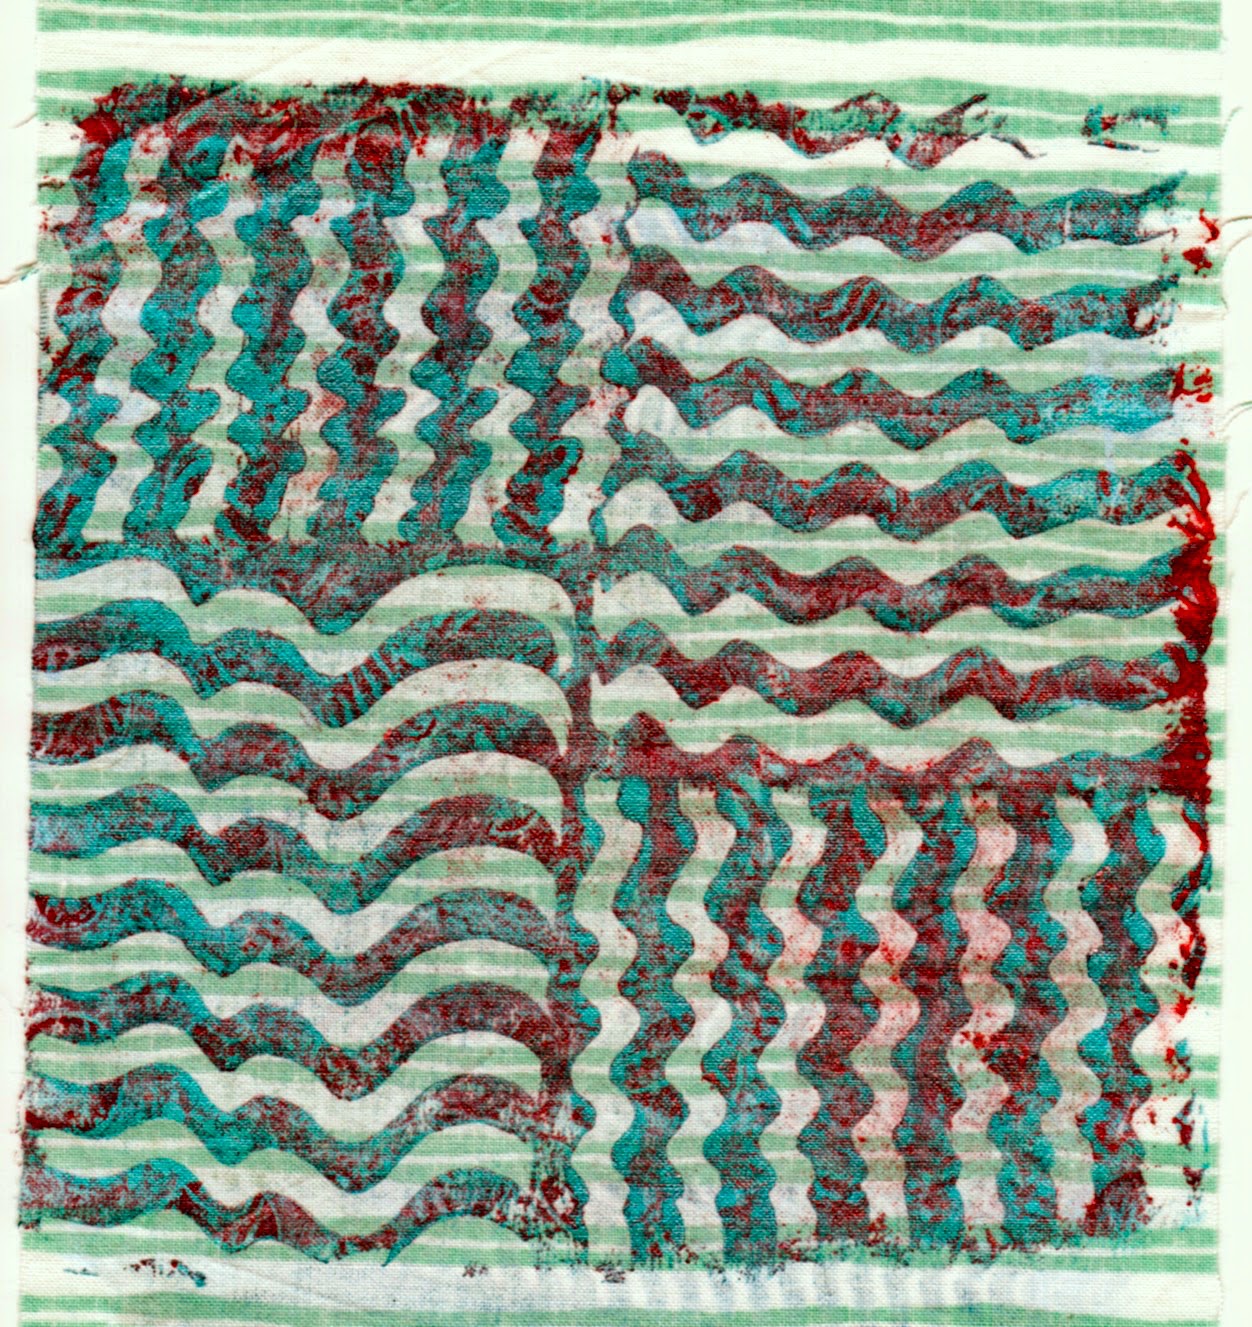
| rubber comb drag |
I will provide you with a list of Things I Did Wrong
at the bottom so you can learn from my mistakes.
In my first batch of experiments, I used a 6"x6"
Gelli Arts plate and colored scrap fabrics. I wasn't
too impressed with any of the results.
The 3 samples to the right are actually rejects
that never got used in any of my postcards.
 |
| overkill - just plain ugly! |
If you are new to monoprinting, there are a ton of
YouTube videos with spectacular ideas! I spent two
evenings watching many, when I should have been
hands-on playing around! Here's a few unique ones:
There are several brands of gelatin plates you can purchase, but they aren't cheap!
There are also many shapes - square, rectangle, circular. And how about
the best idea yet... you can actually make your very own gelatin plates!
Gelli Arts LLC - Gelli Plate
Stampendous - Creative Palette
CLOTH PAPER SCISSORS magazine
by Interweave Press
Offers a free downloadable e-book
on MONOPRINTING
when you register at their website.

TUTORIAL MAKE A GELATIN PLATE
The Sketchbook Challenge blog by
Leslie Tucker Jension
DVD GELATIN PLATE PRINTED JOURNAL
73 minutes
Cloth Paper Scissors Workshop
Interweave Press
by Kari McKnight Holbrook
FUN TUTORIAL using donut shaped gelatin plate
Bonkers Handmade Originals blog by
Traci Bunkers
VISIT THIS TUTORIAL using just plastic trays
Millande Art Studio blog by
Millande Demetriou
FREE PDF FILE ~ INTRO TO MONOPRINTING
by OpusArtSupplies.com in Canada
THINGS I DID WRONG
Failed to make a dedicated flat drying area.
Don't hang wet prints over a chair back, because they just
might fall paint-side down onto your carpet like several of mine did!
Don't hang wet prints over a chair back, because they just
might fall paint-side down onto your carpet like several of mine did!
Forgot to have wet wipes or wet rags nearby - yikes!
Therefore a lot of paint dried on my stencils,
Therefore a lot of paint dried on my stencils,
taking forever to clean off.
Used wrinkled fabric scraps. Iron them flat ahead of time!
Took a phone call and coffee break.
Oh no, I didn't know how fast acrylic paint dries on brushes etc.,
Oh no, I didn't know how fast acrylic paint dries on brushes etc.,
I did some research to find that we can mist spray water,
or use an additive such as Liquitex Slow-Dri Blending Medium and Gel Retarder!
There are even stay-wet palettes to prevent drawing moisture out of the paint.
There are even stay-wet palettes to prevent drawing moisture out of the paint.
Used Steam when pressing my finished prints.
It sort of ruined my metallic and glitter paint finishes.
Set your paints with dry heat and use a protective
non-stick pressing sheet or baking parchment paper
between the hot iron and print.
Failed to experiment with stamping inks, fabric paints, and more.
I'll try those the next time!
I really enjoyed the play process and can see myself continuing to explore
monoprinting a lot more! I've even purchased 4 boxes of gelatin to experiment
with making my own gelatin plates. I'm planning to make some cookie cutter
shaped gelatin mini-plates. I'll keep you updated with how it turns out!
~~~~ Sheree
 |
| Sheree McKee 2015 combing, bubble wrap, and stencil |


